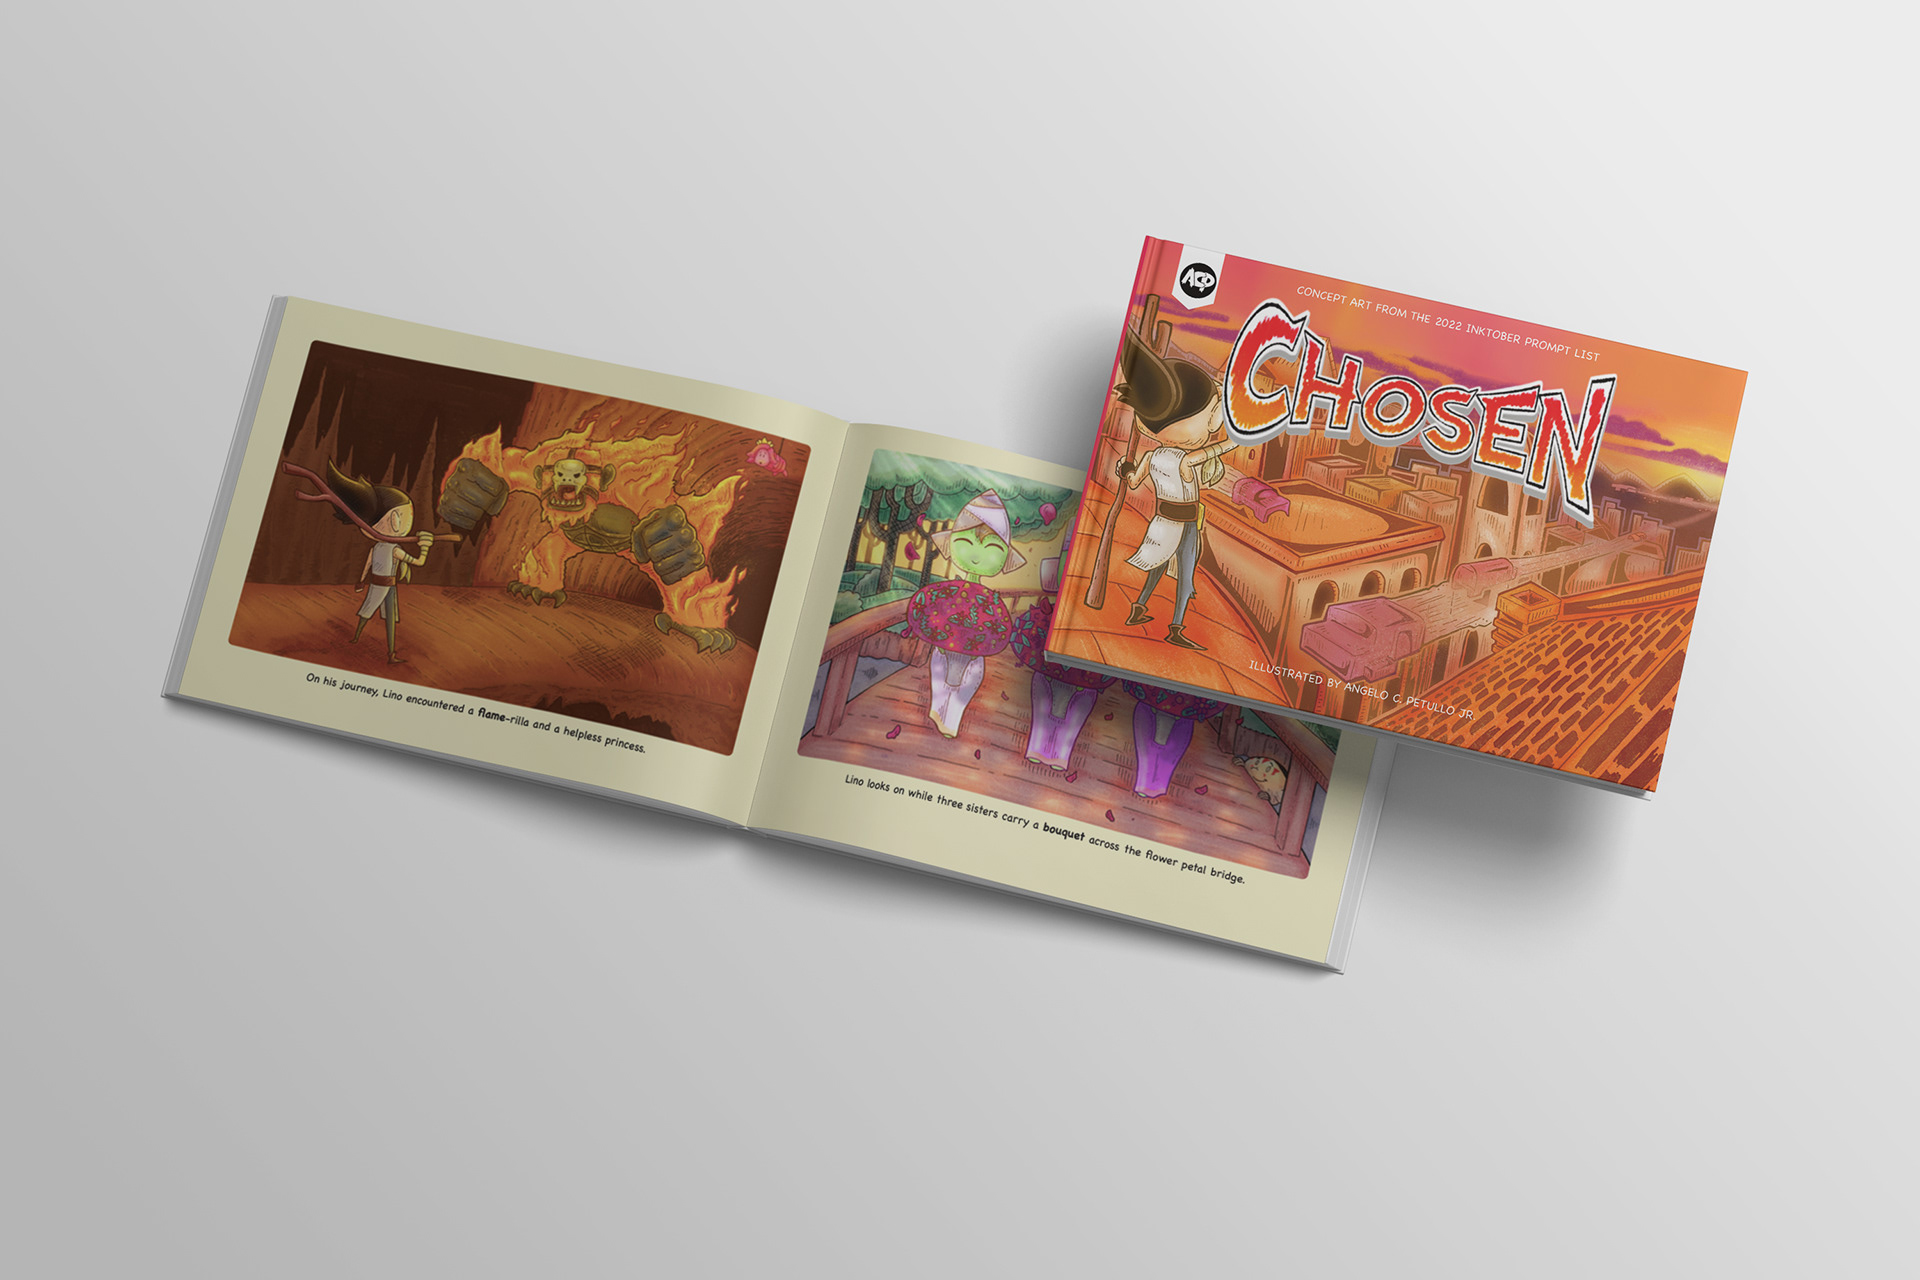
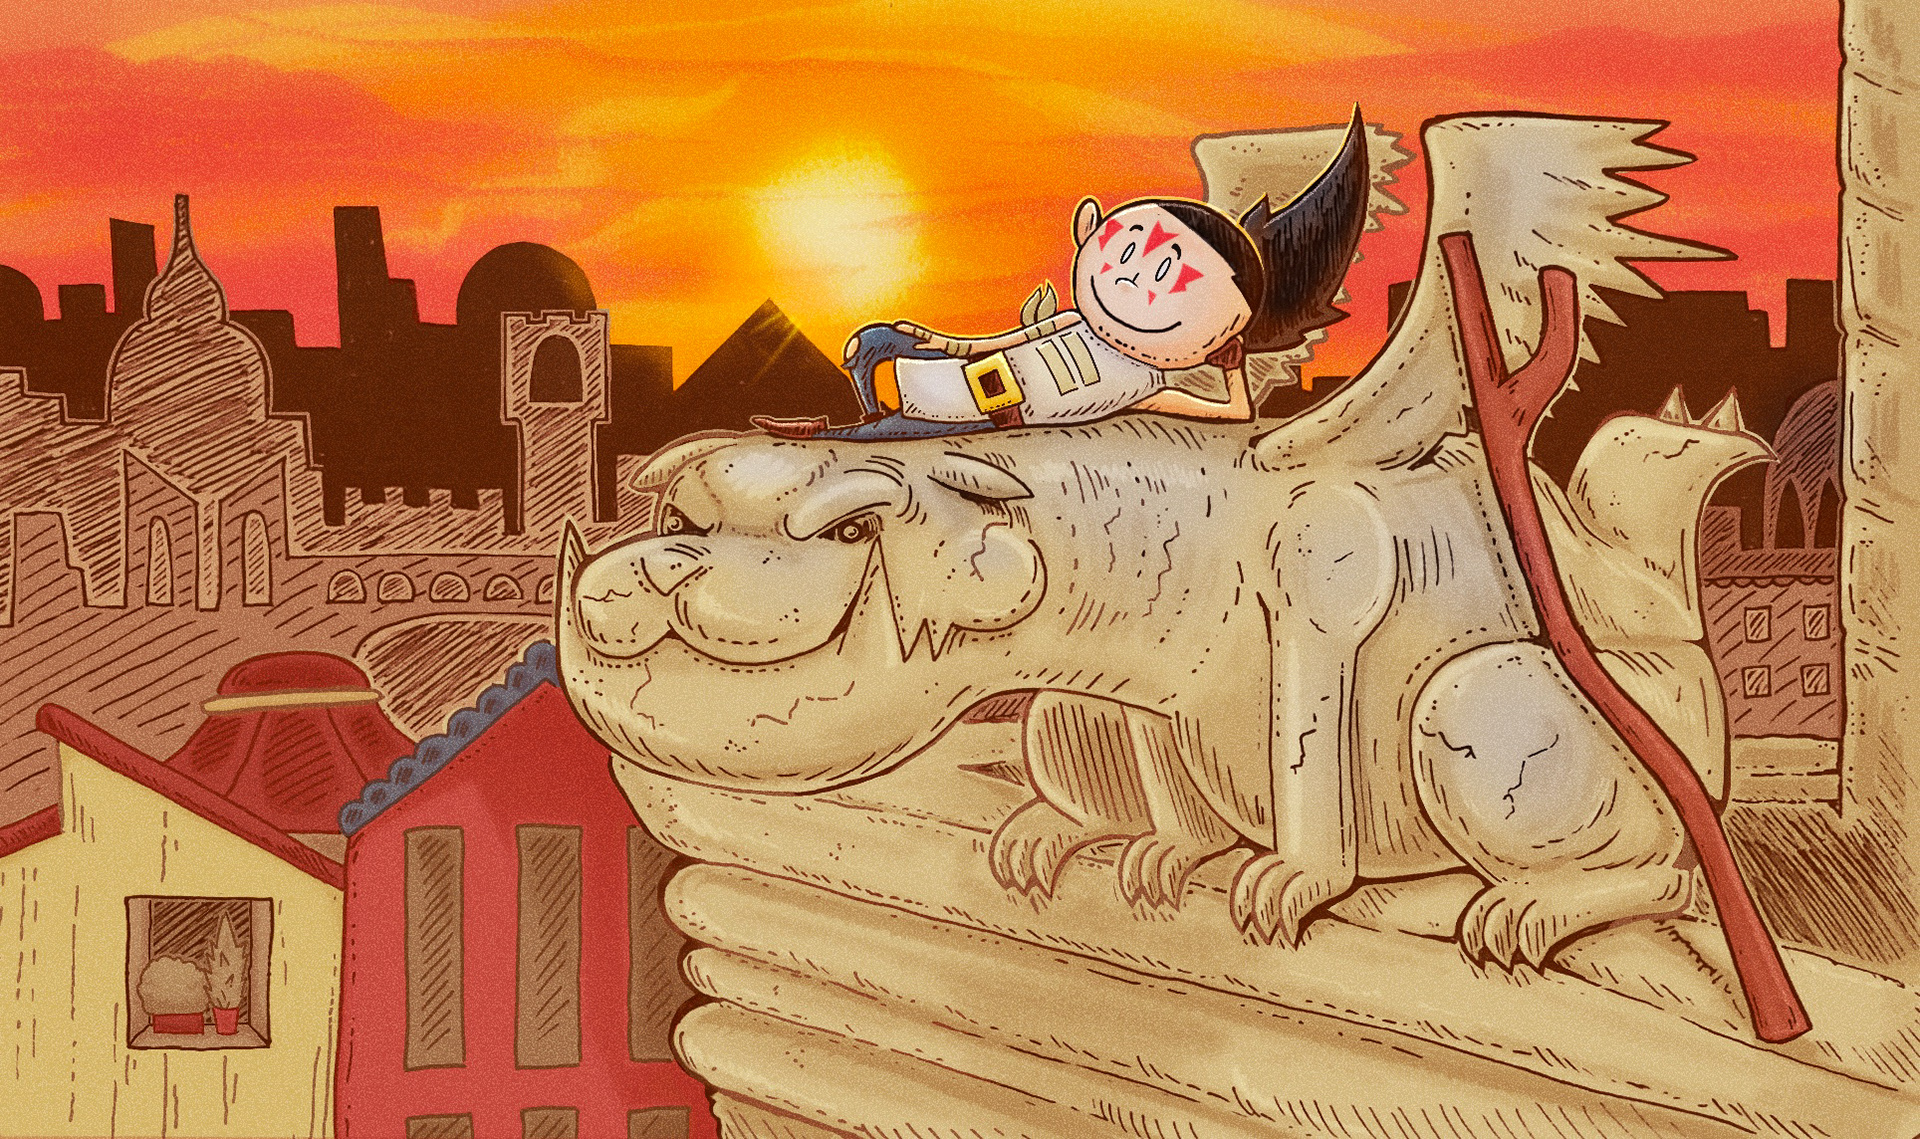
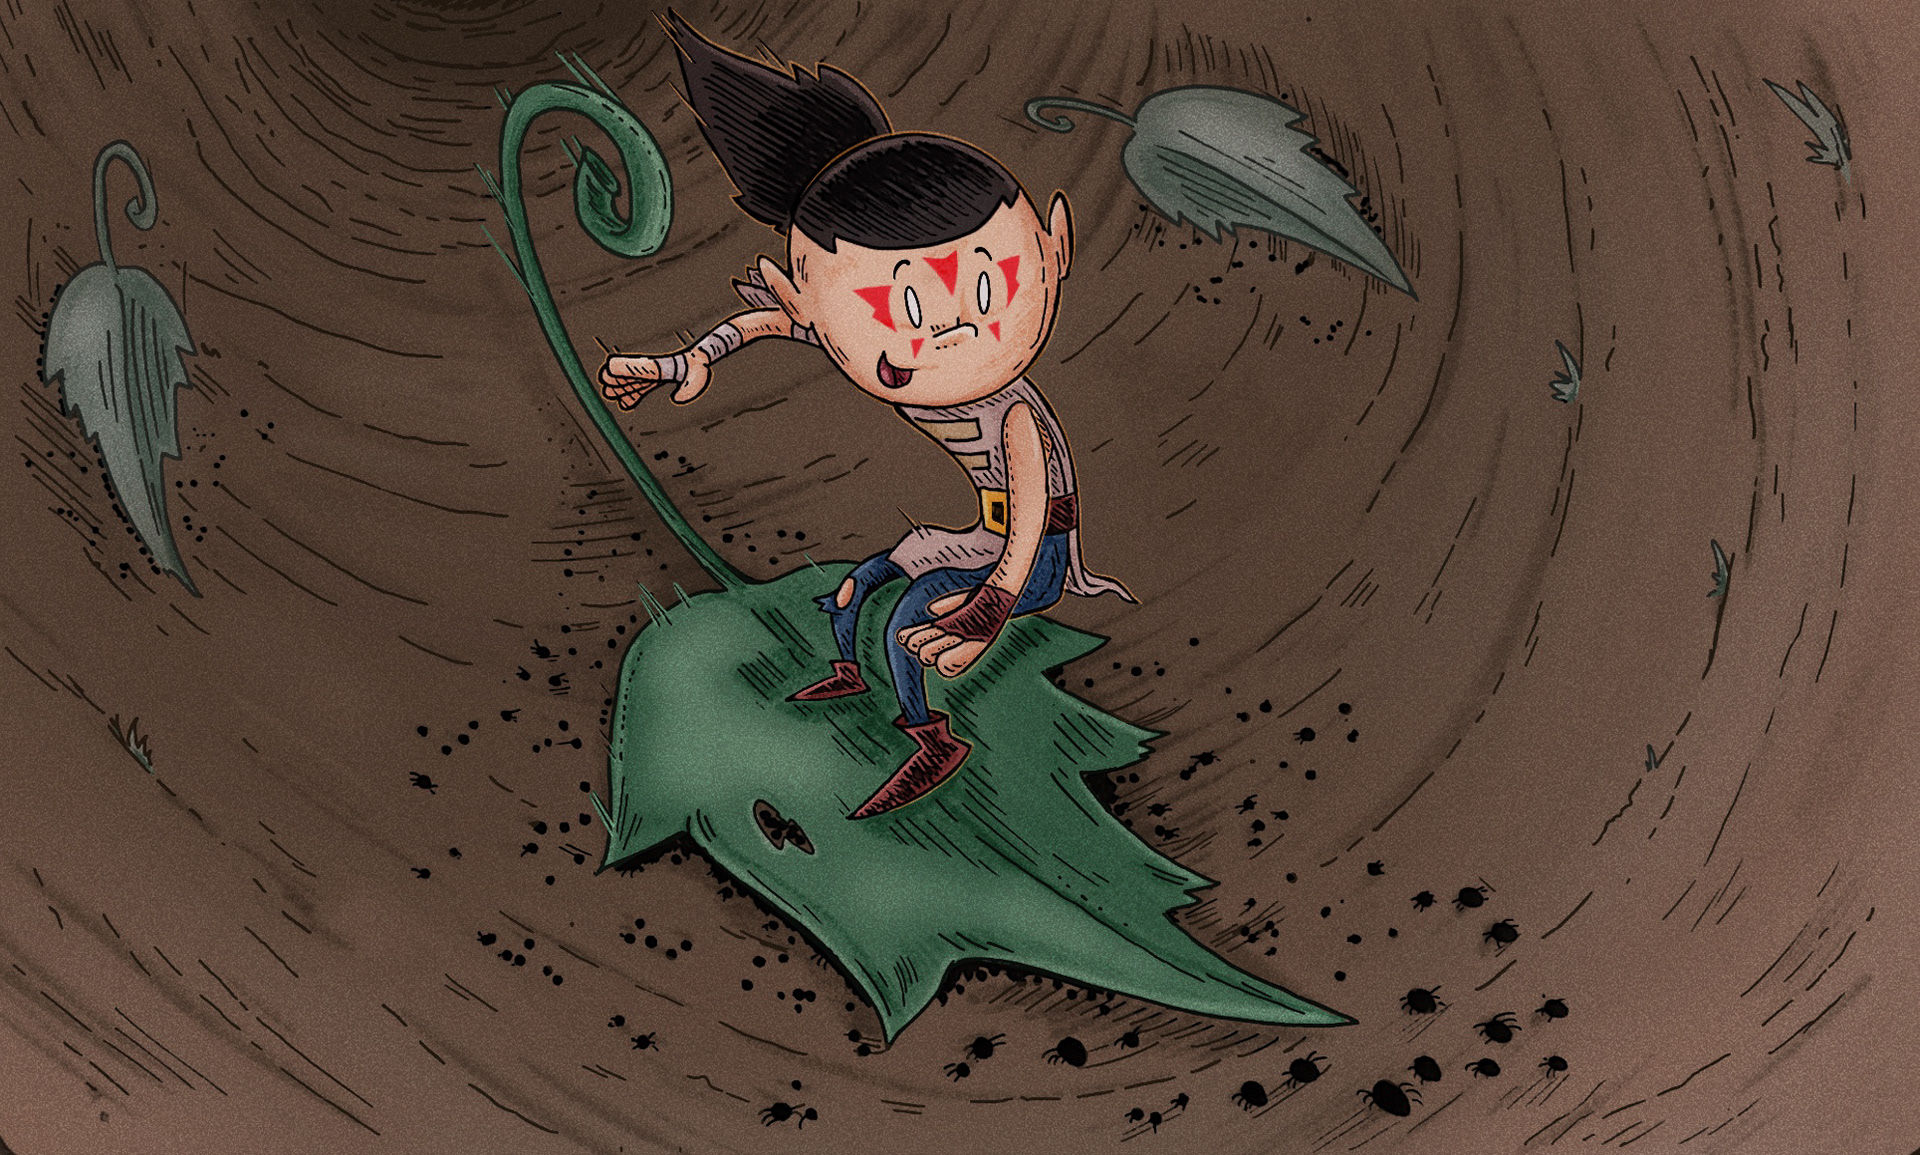
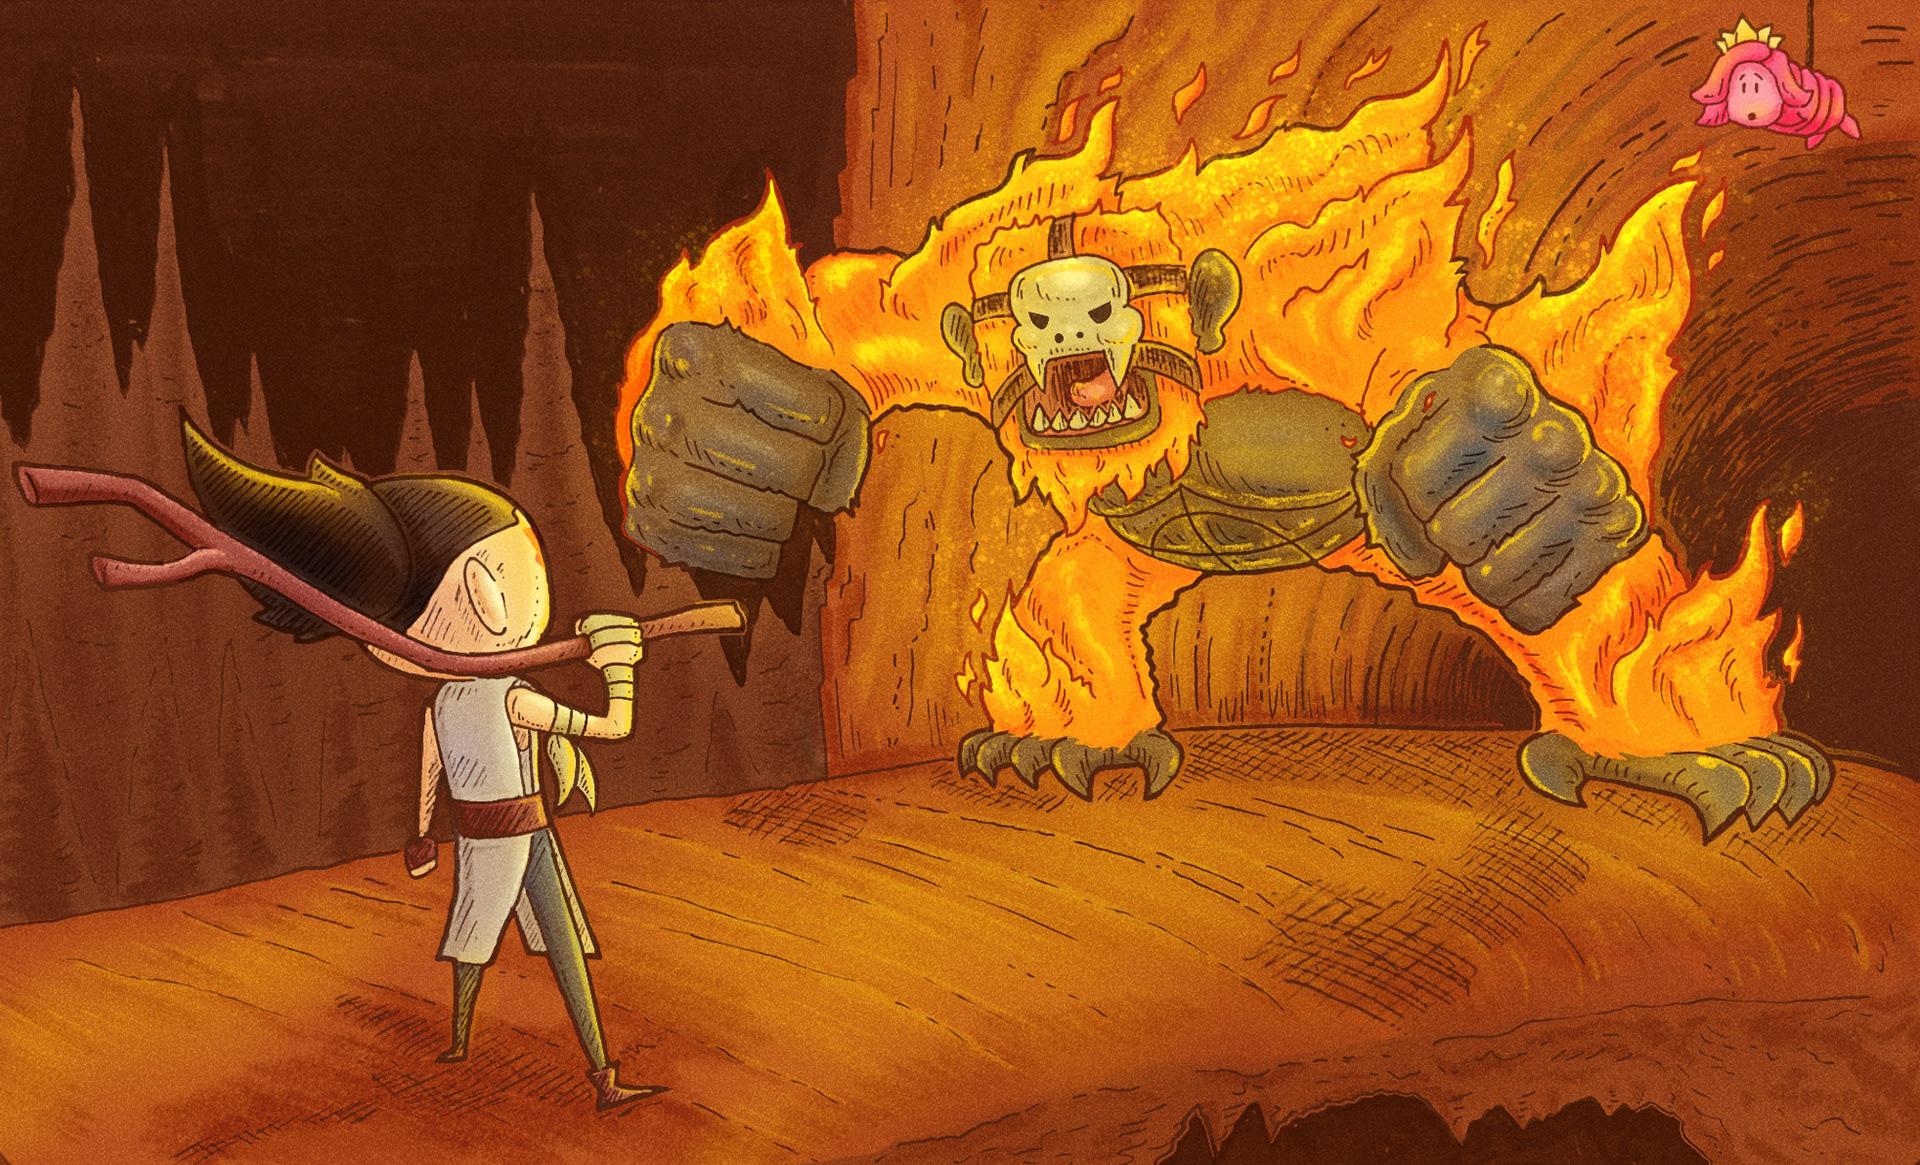
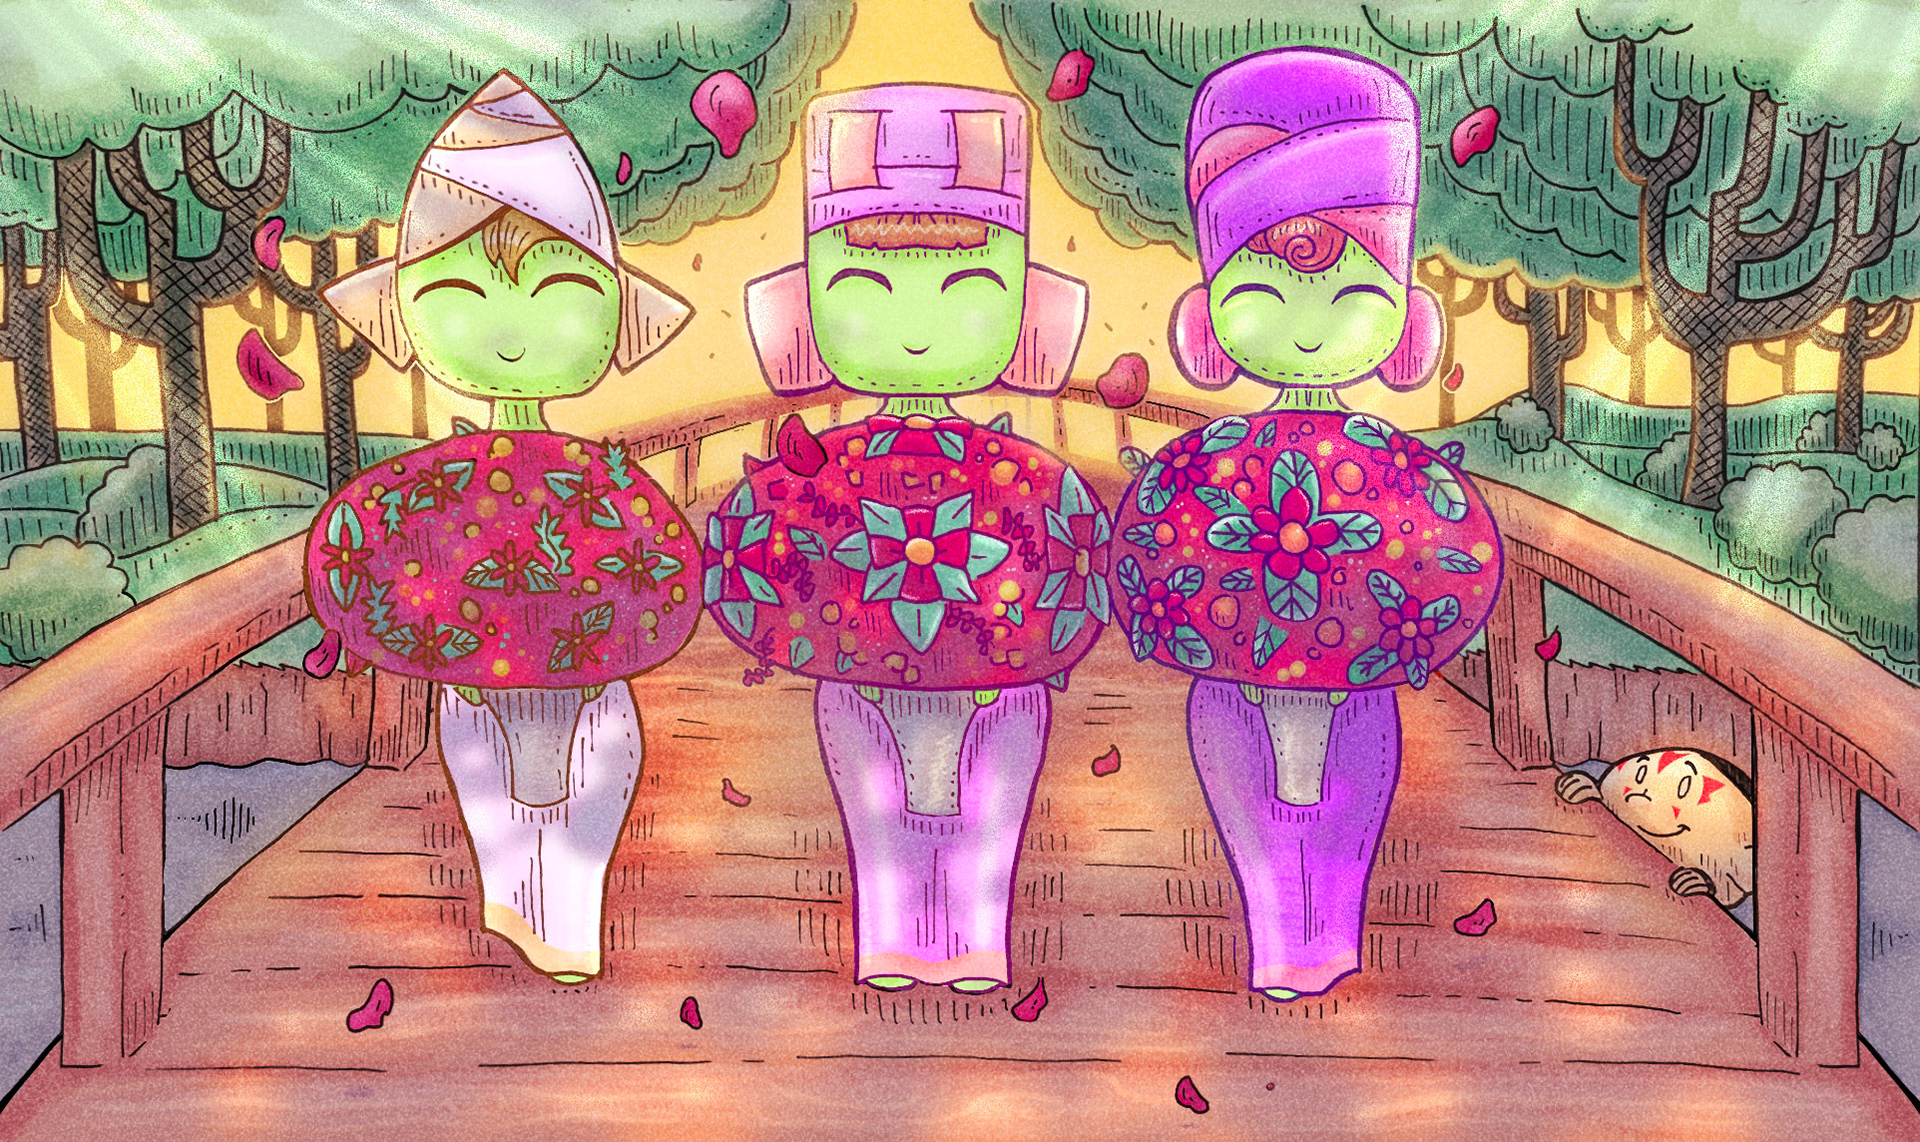
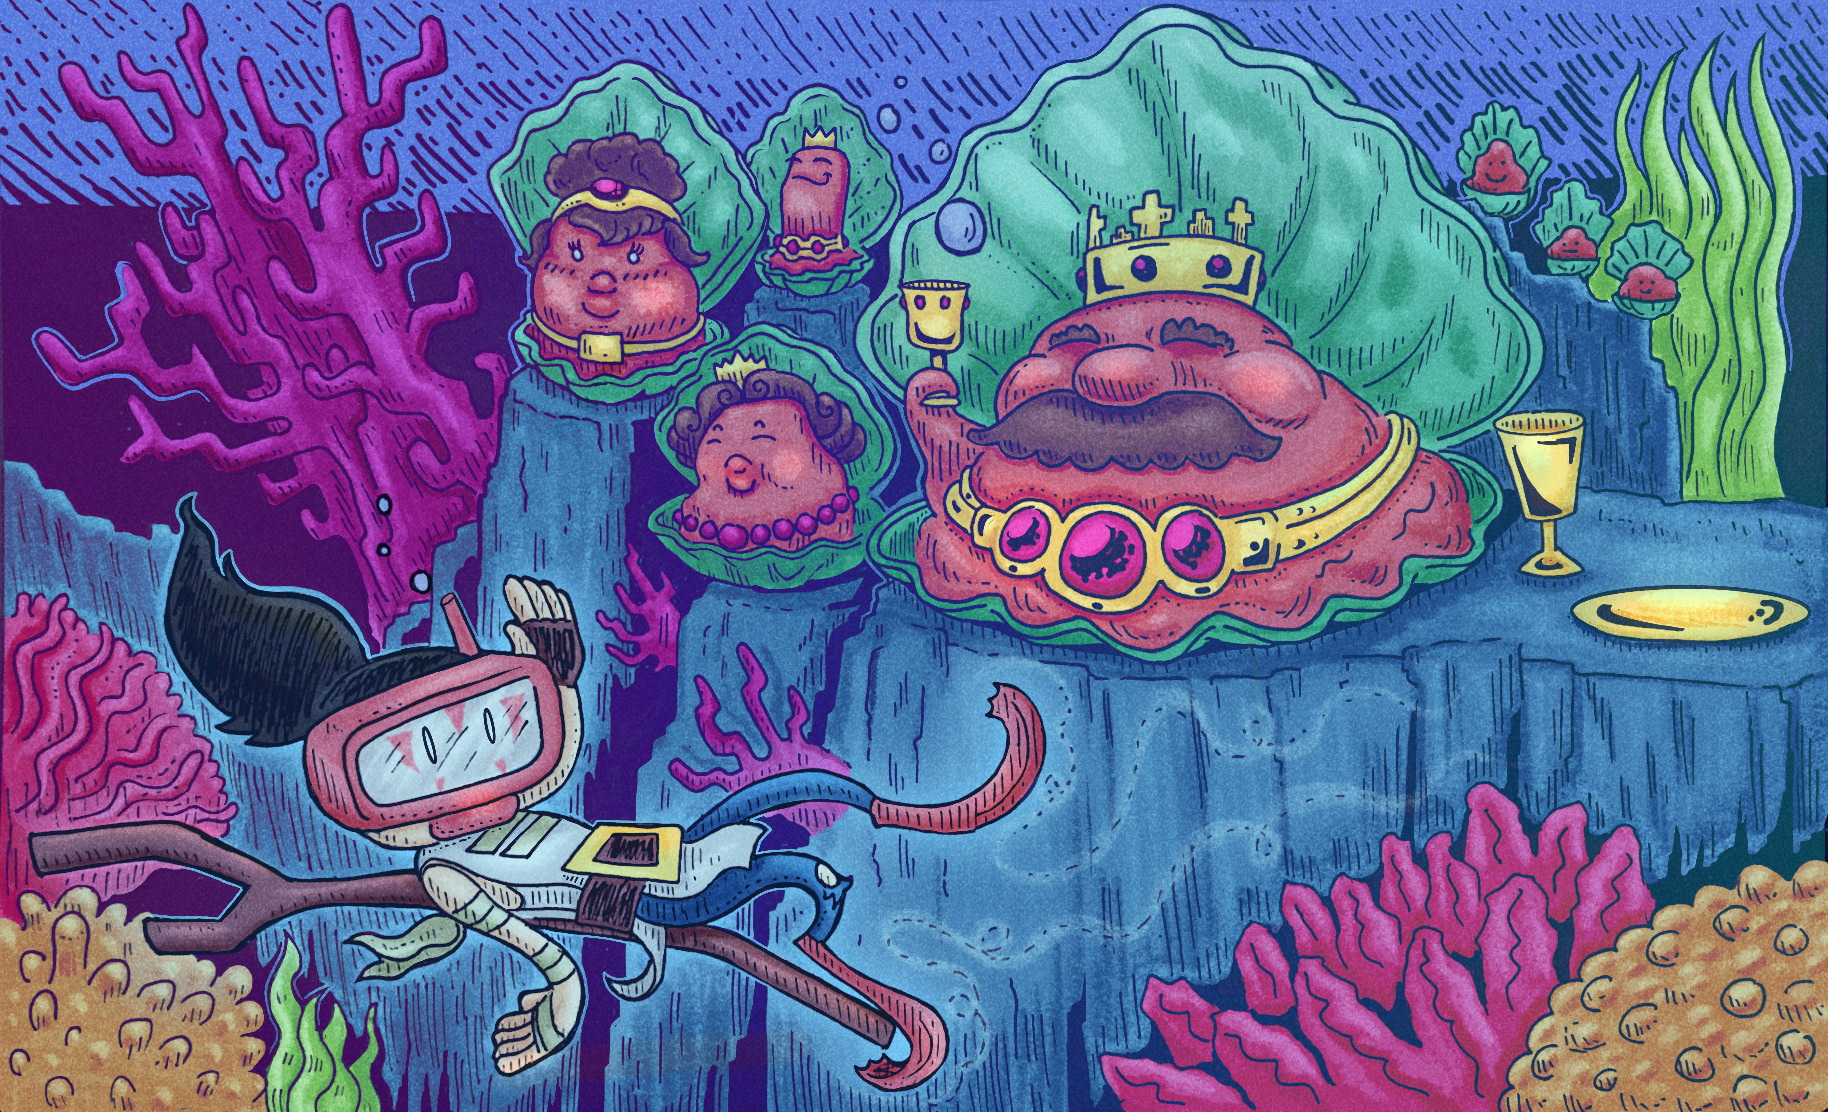
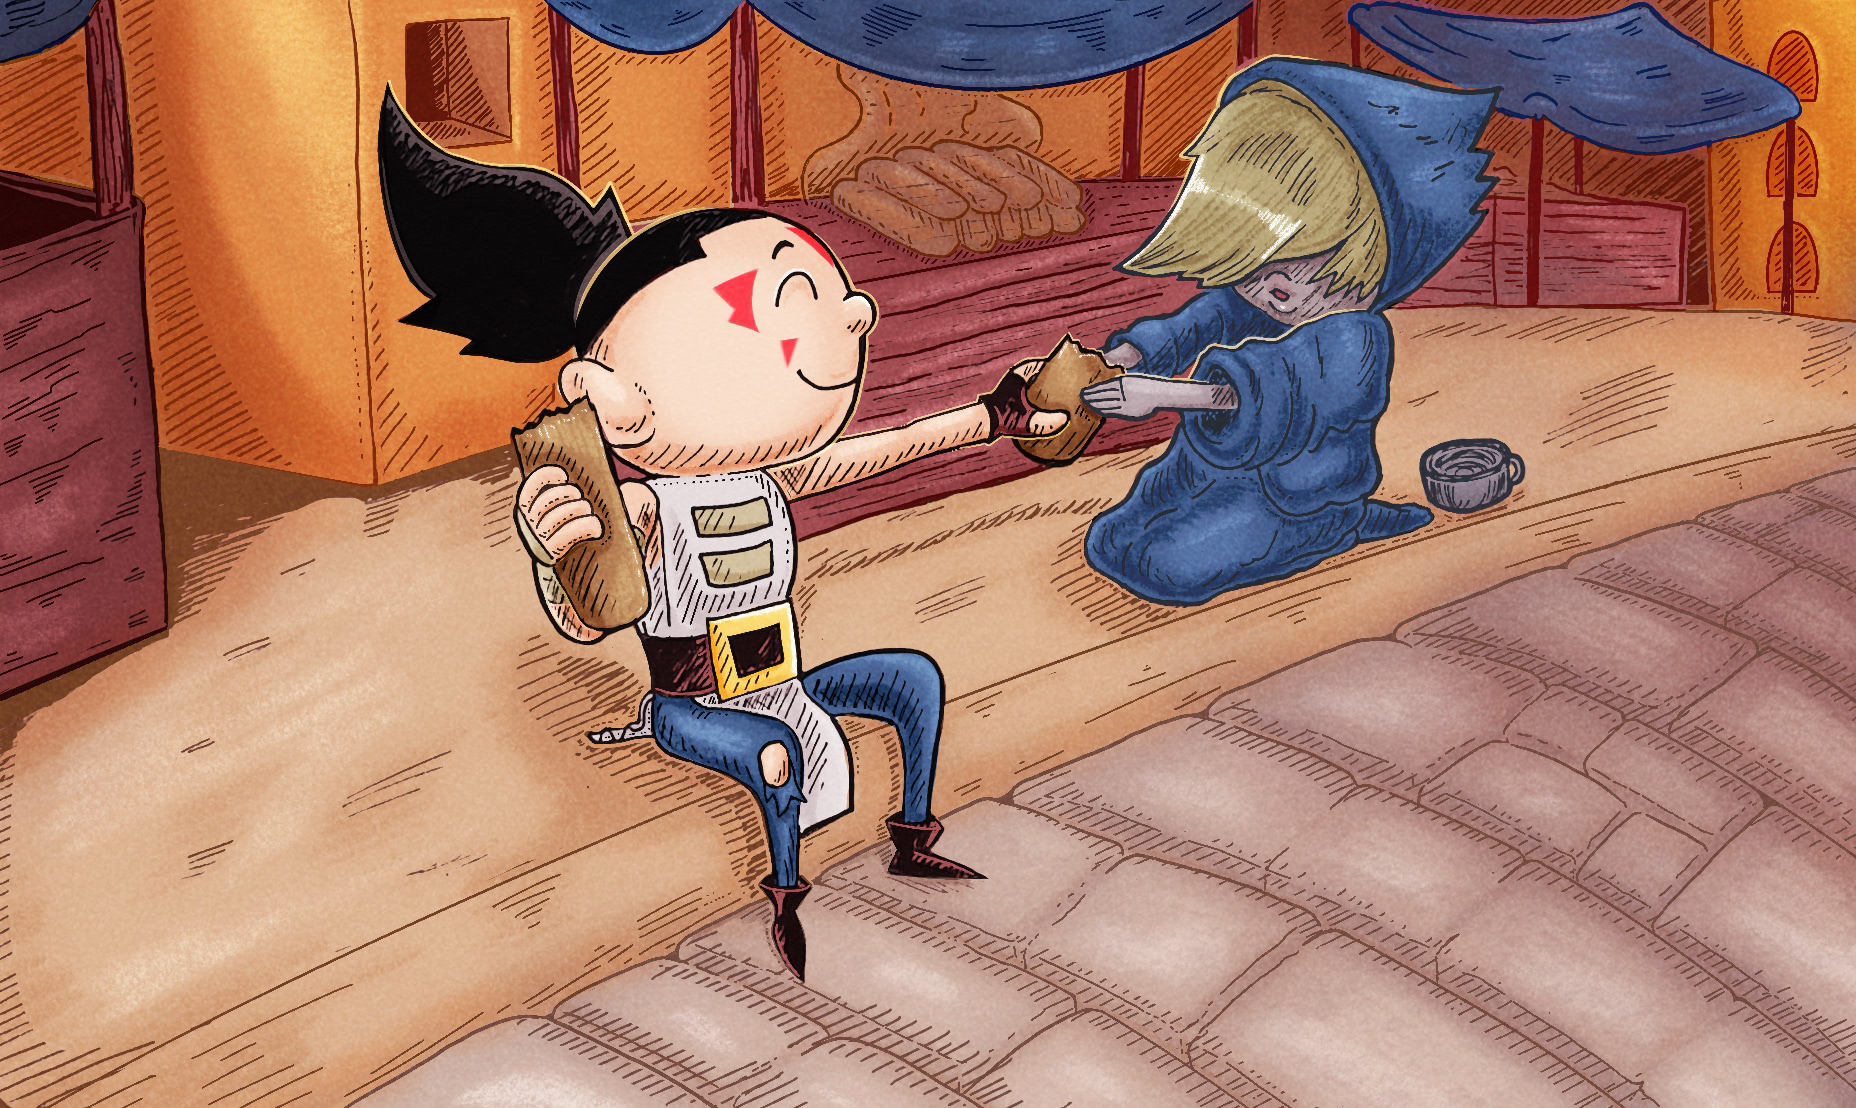
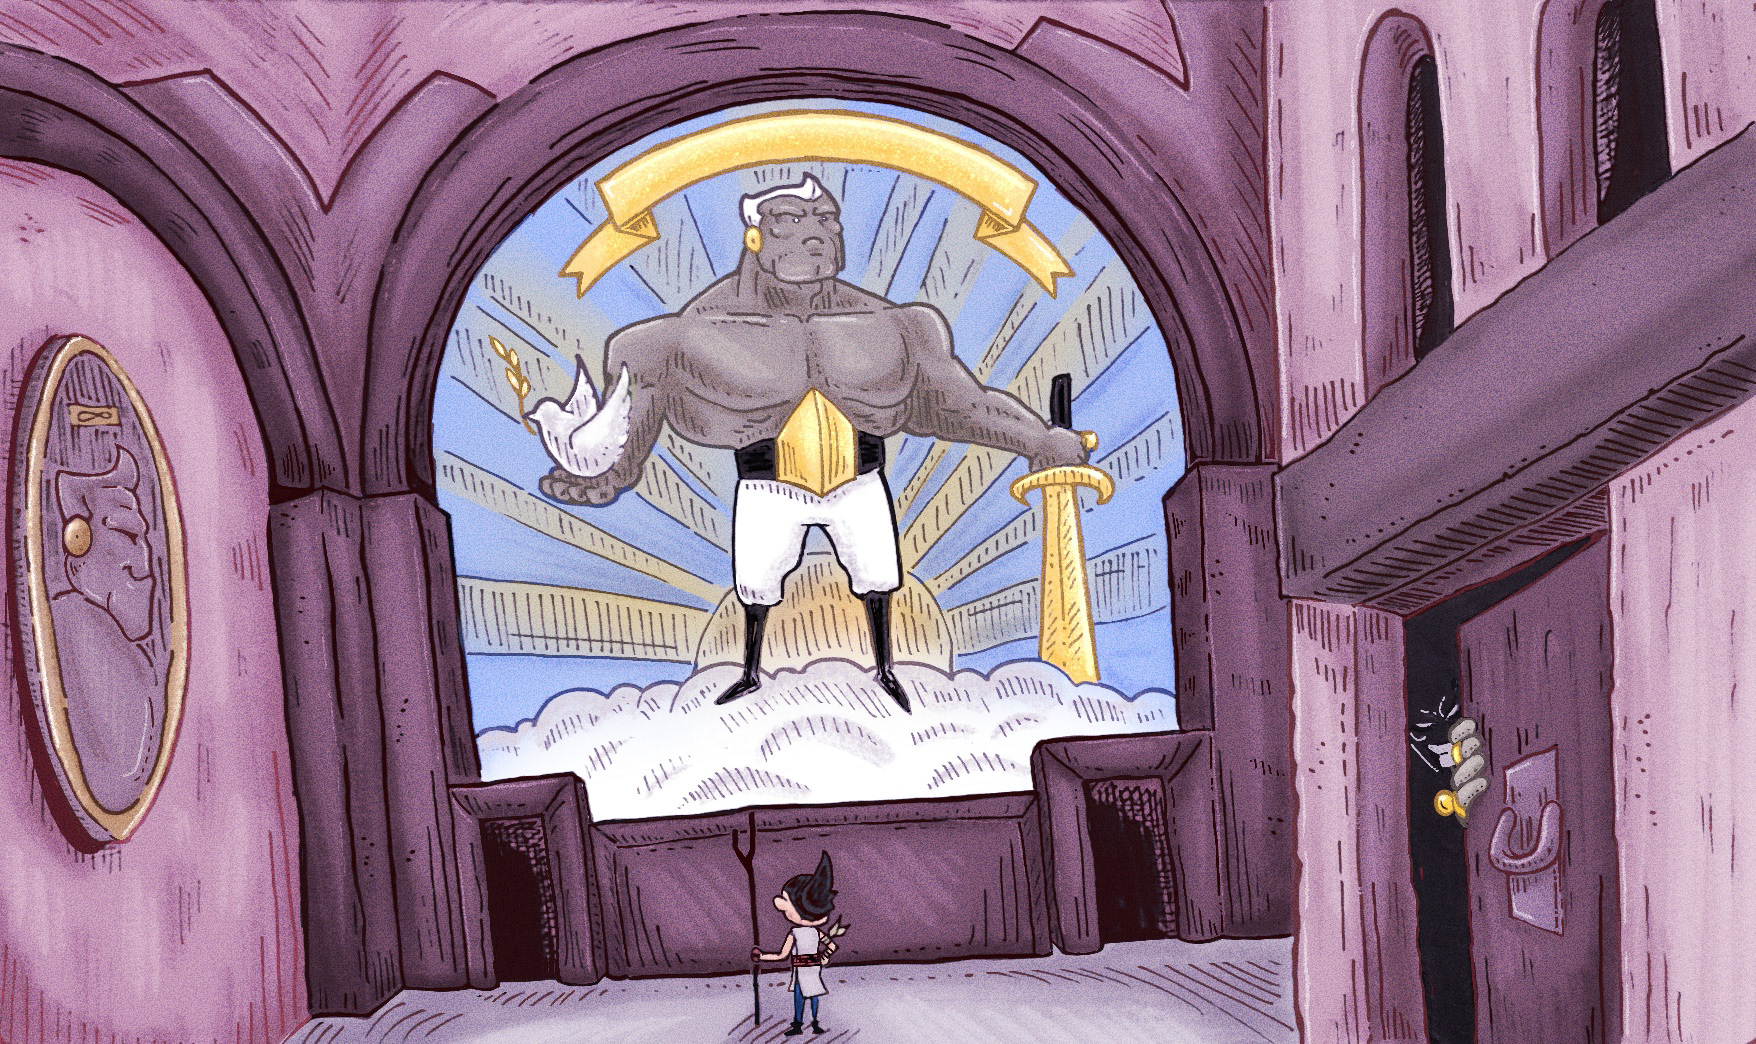
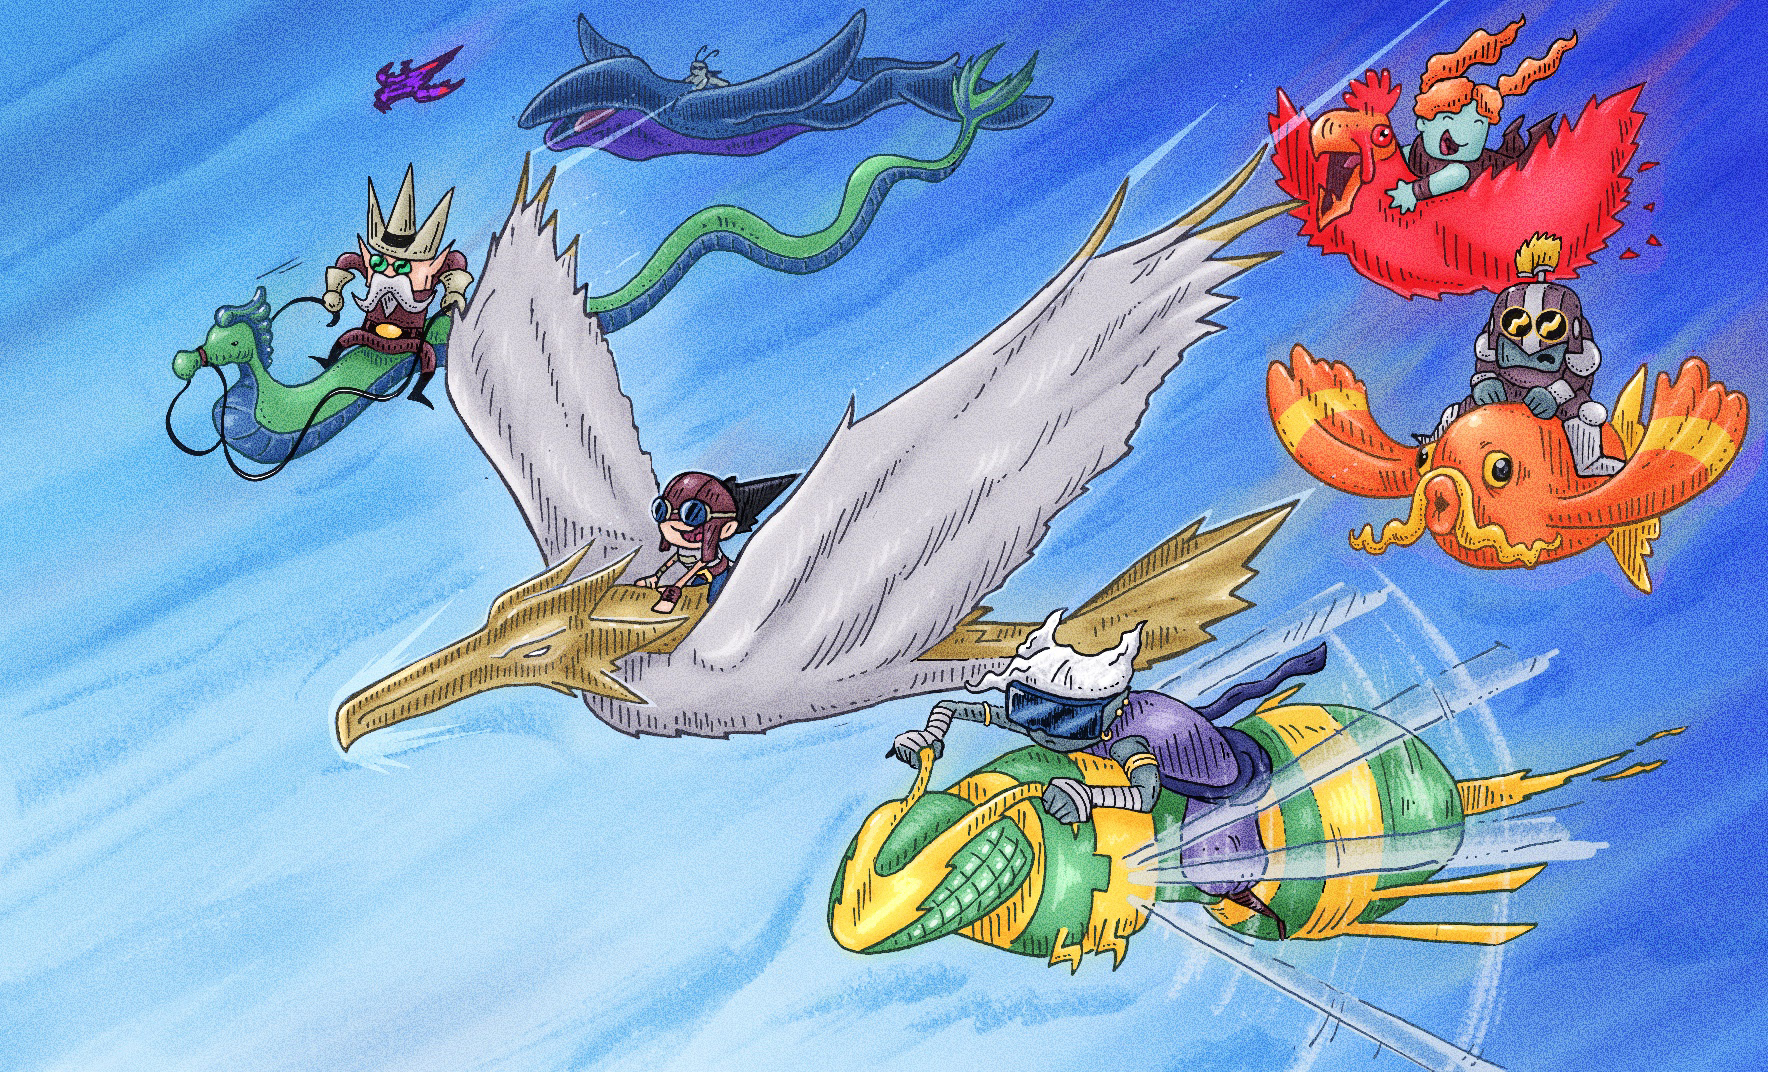
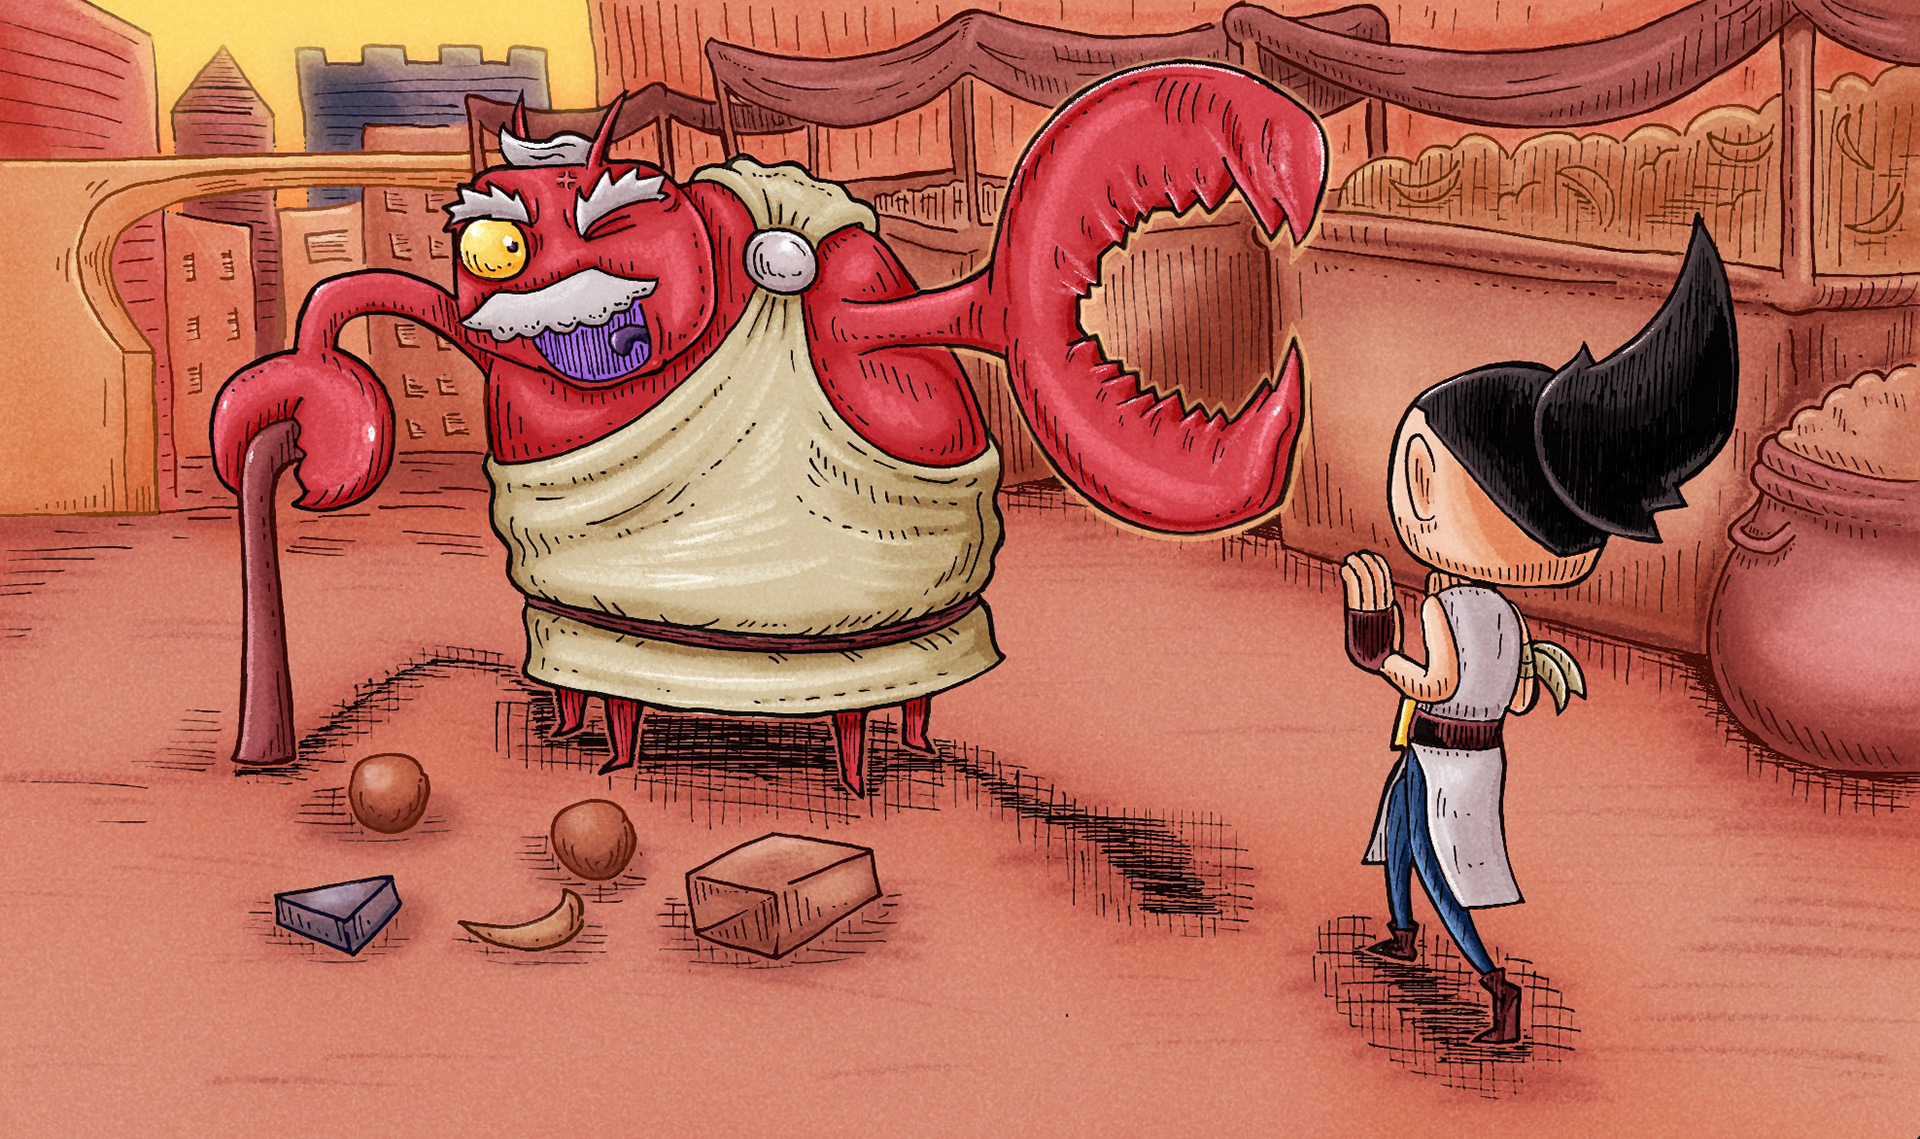
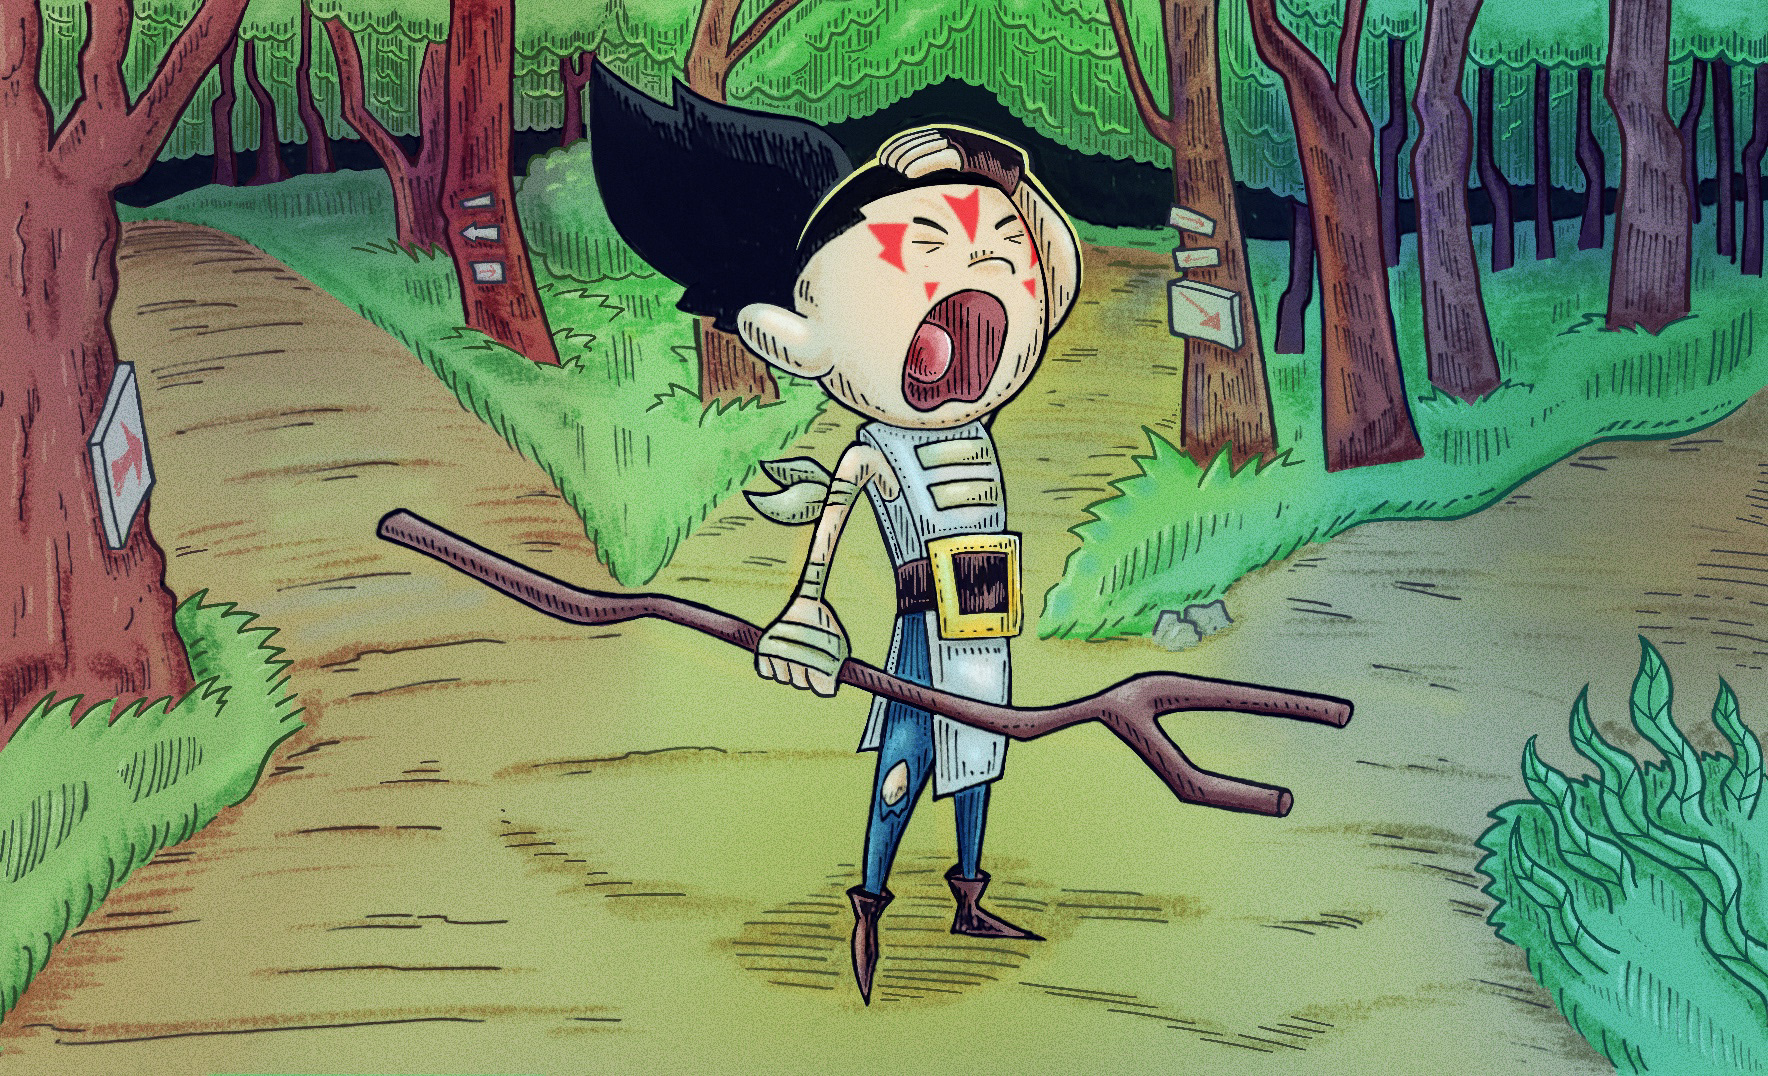
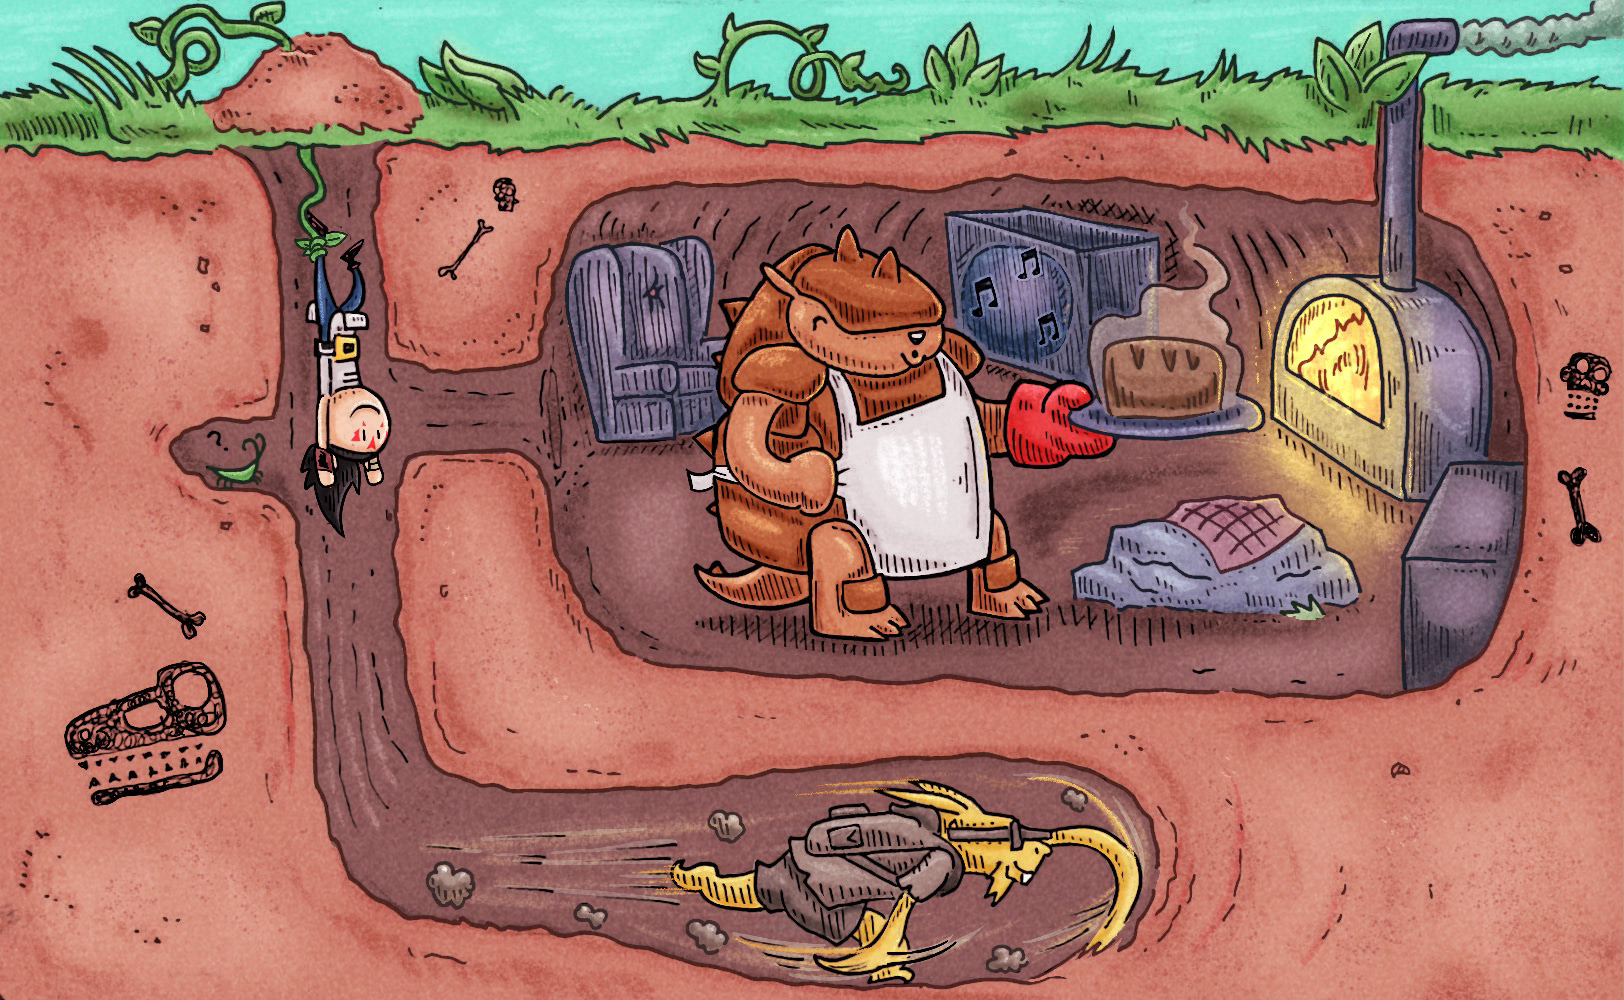
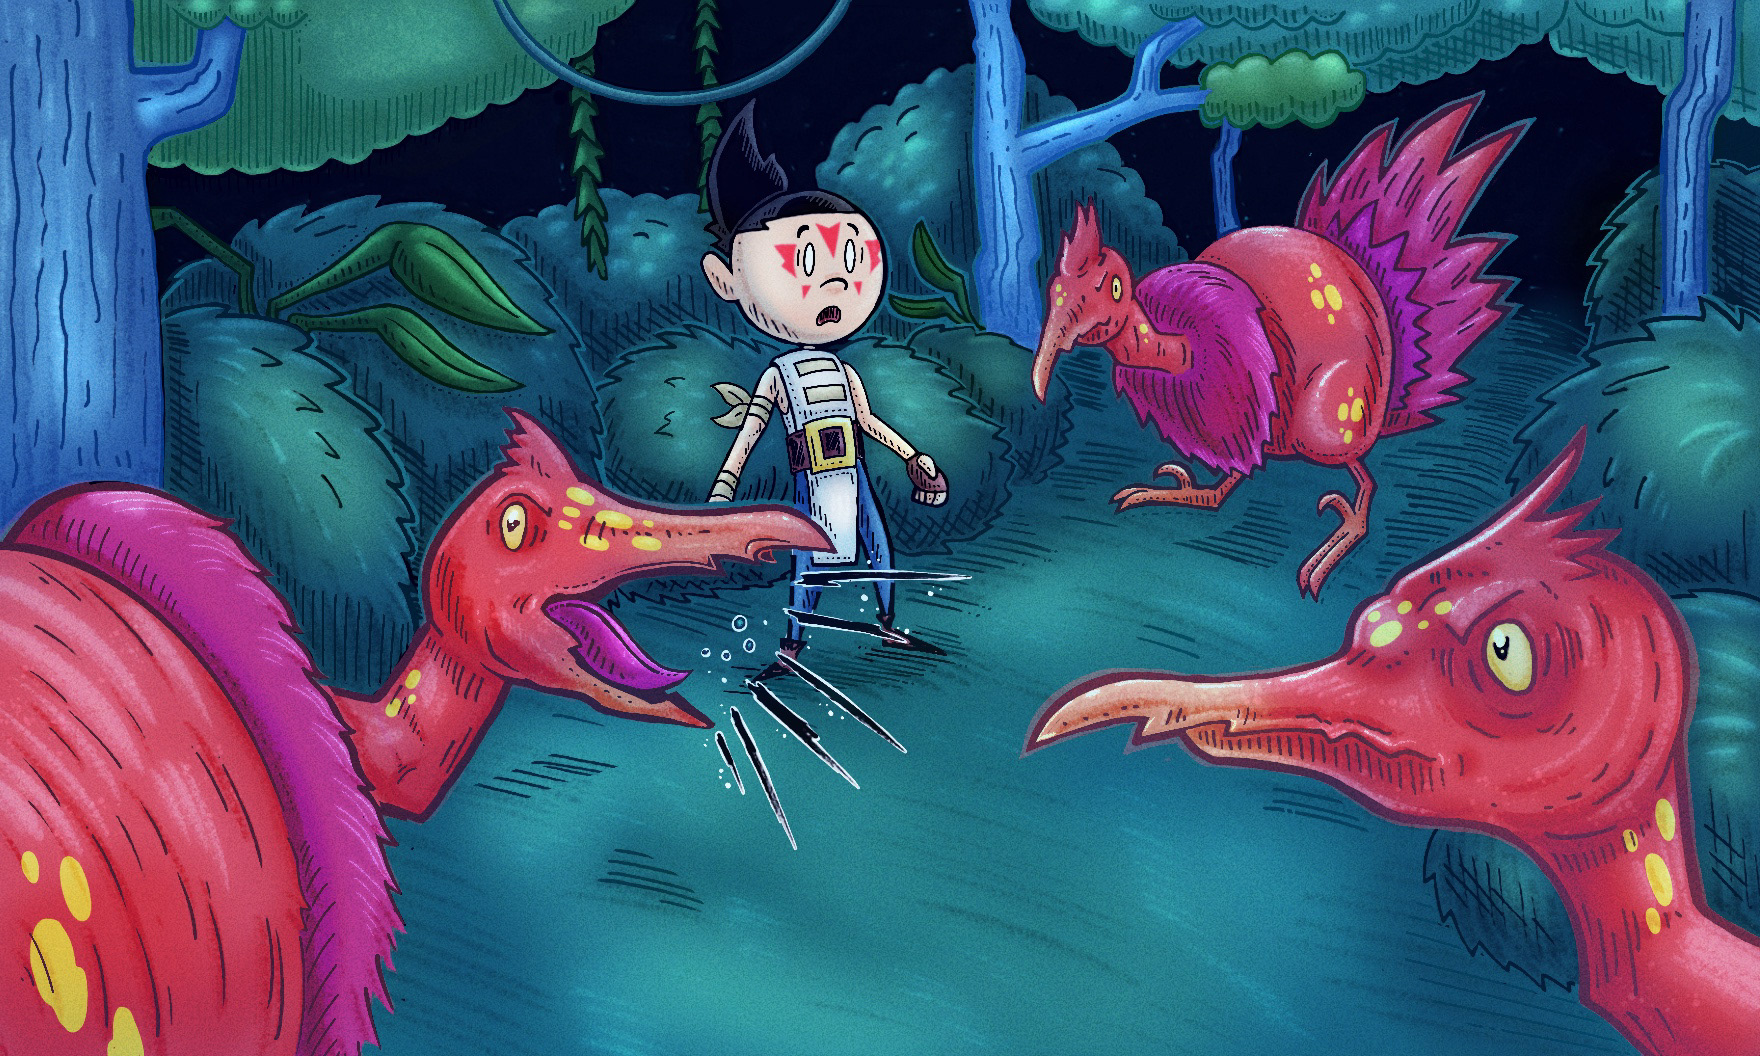
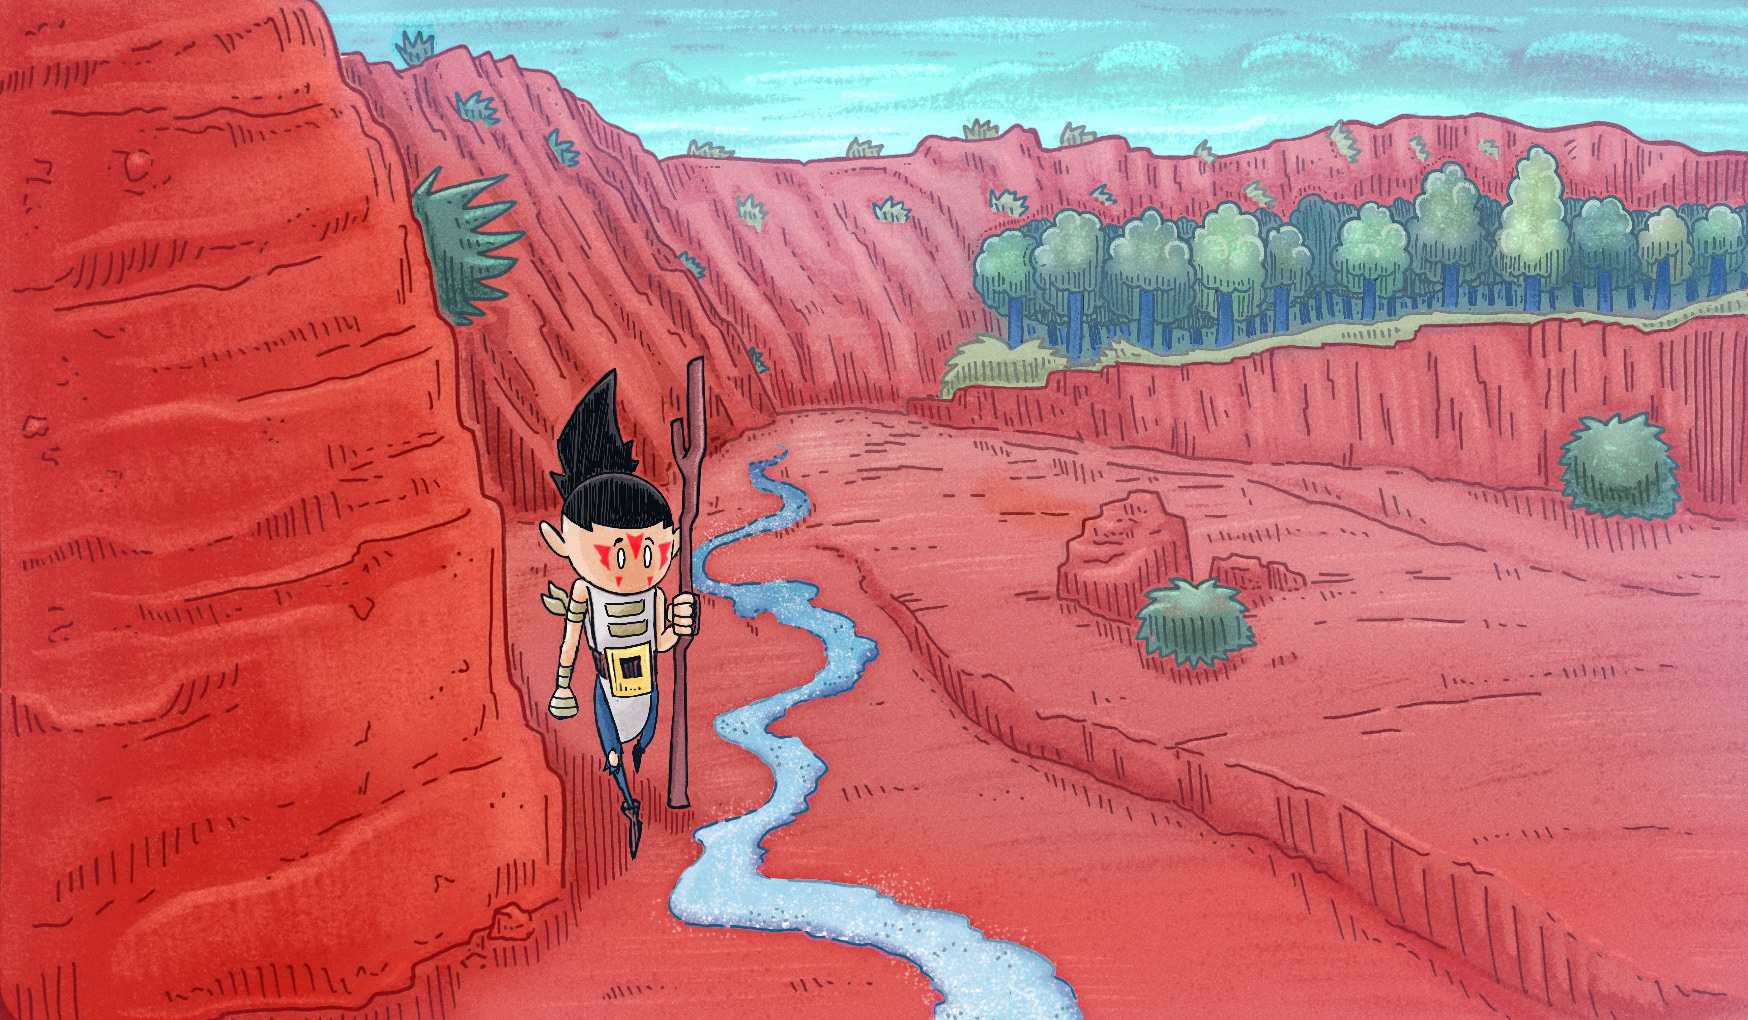
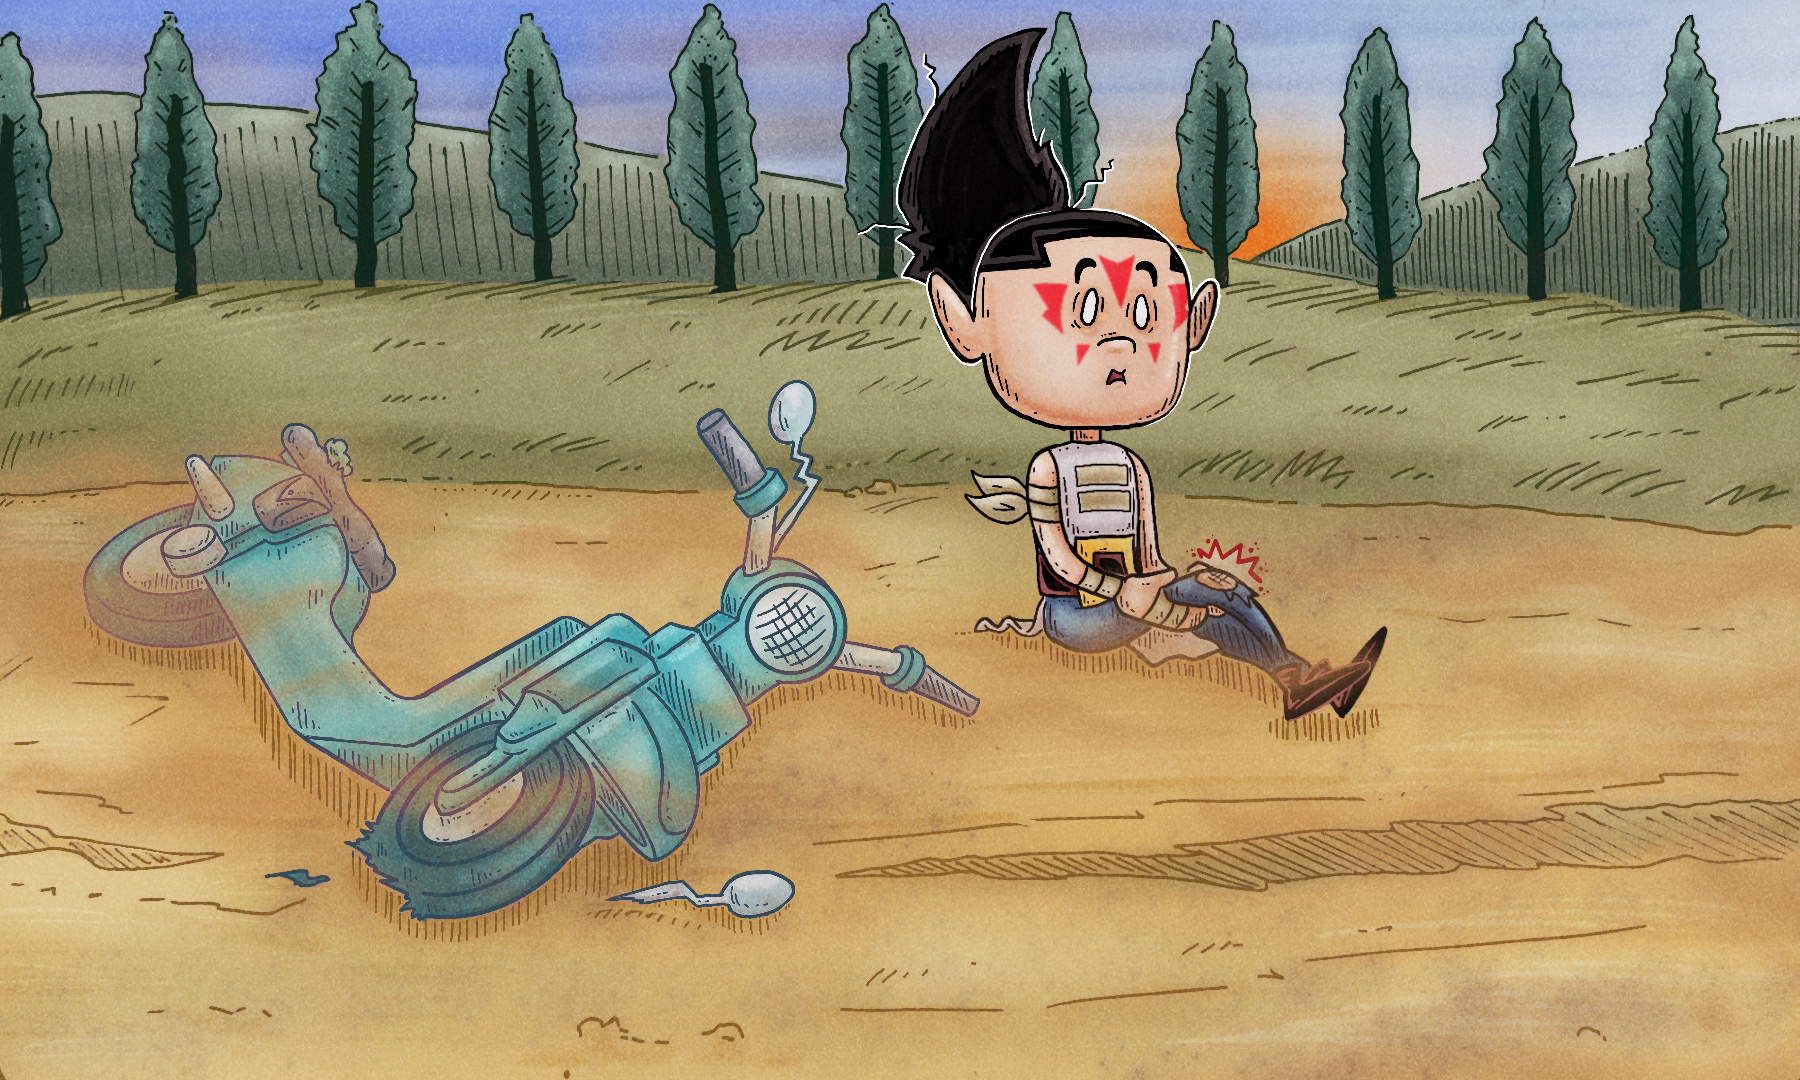
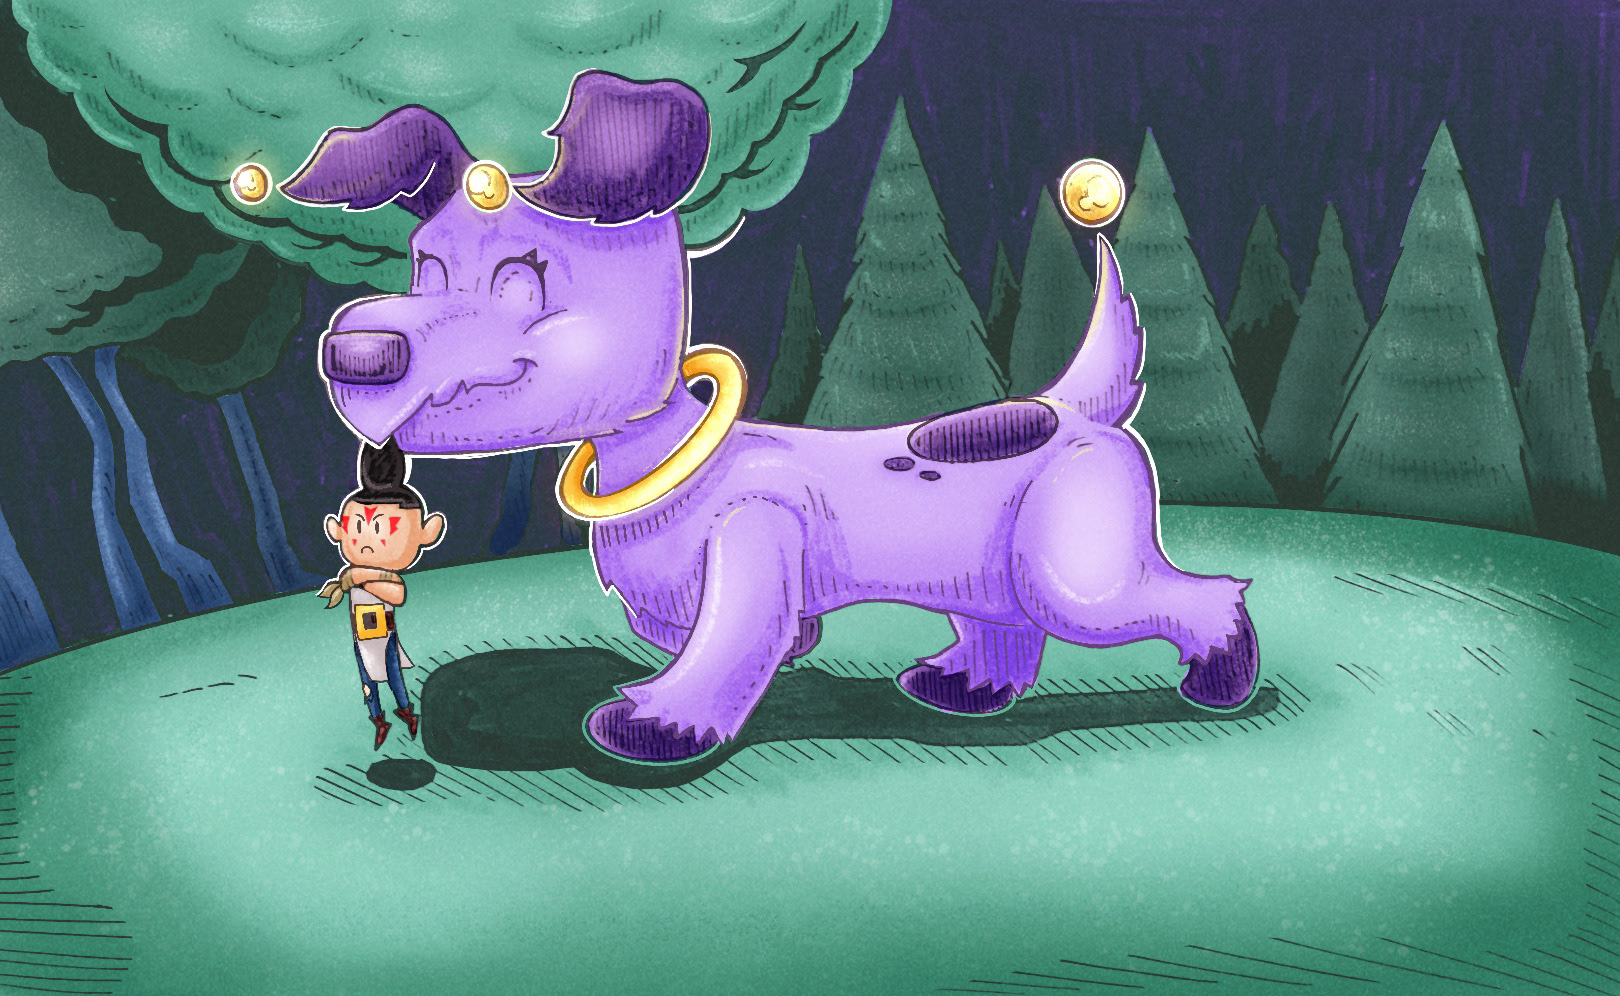
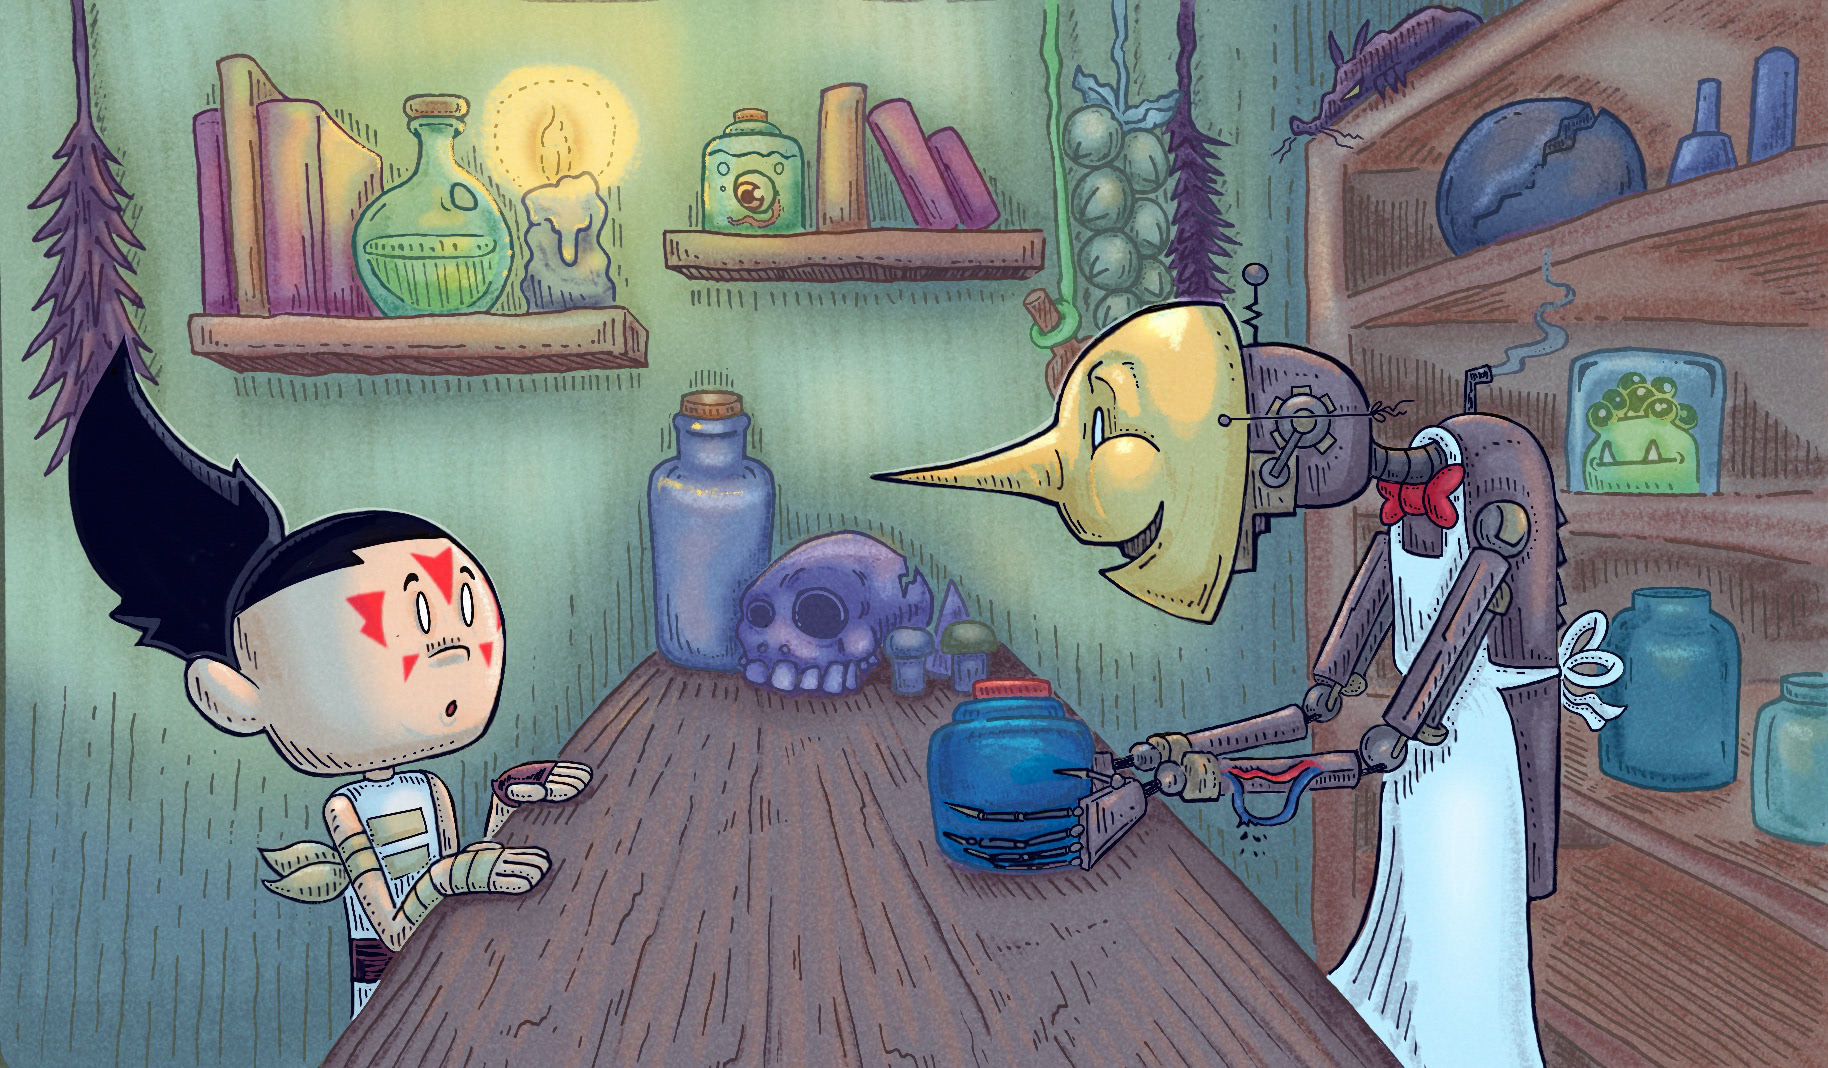
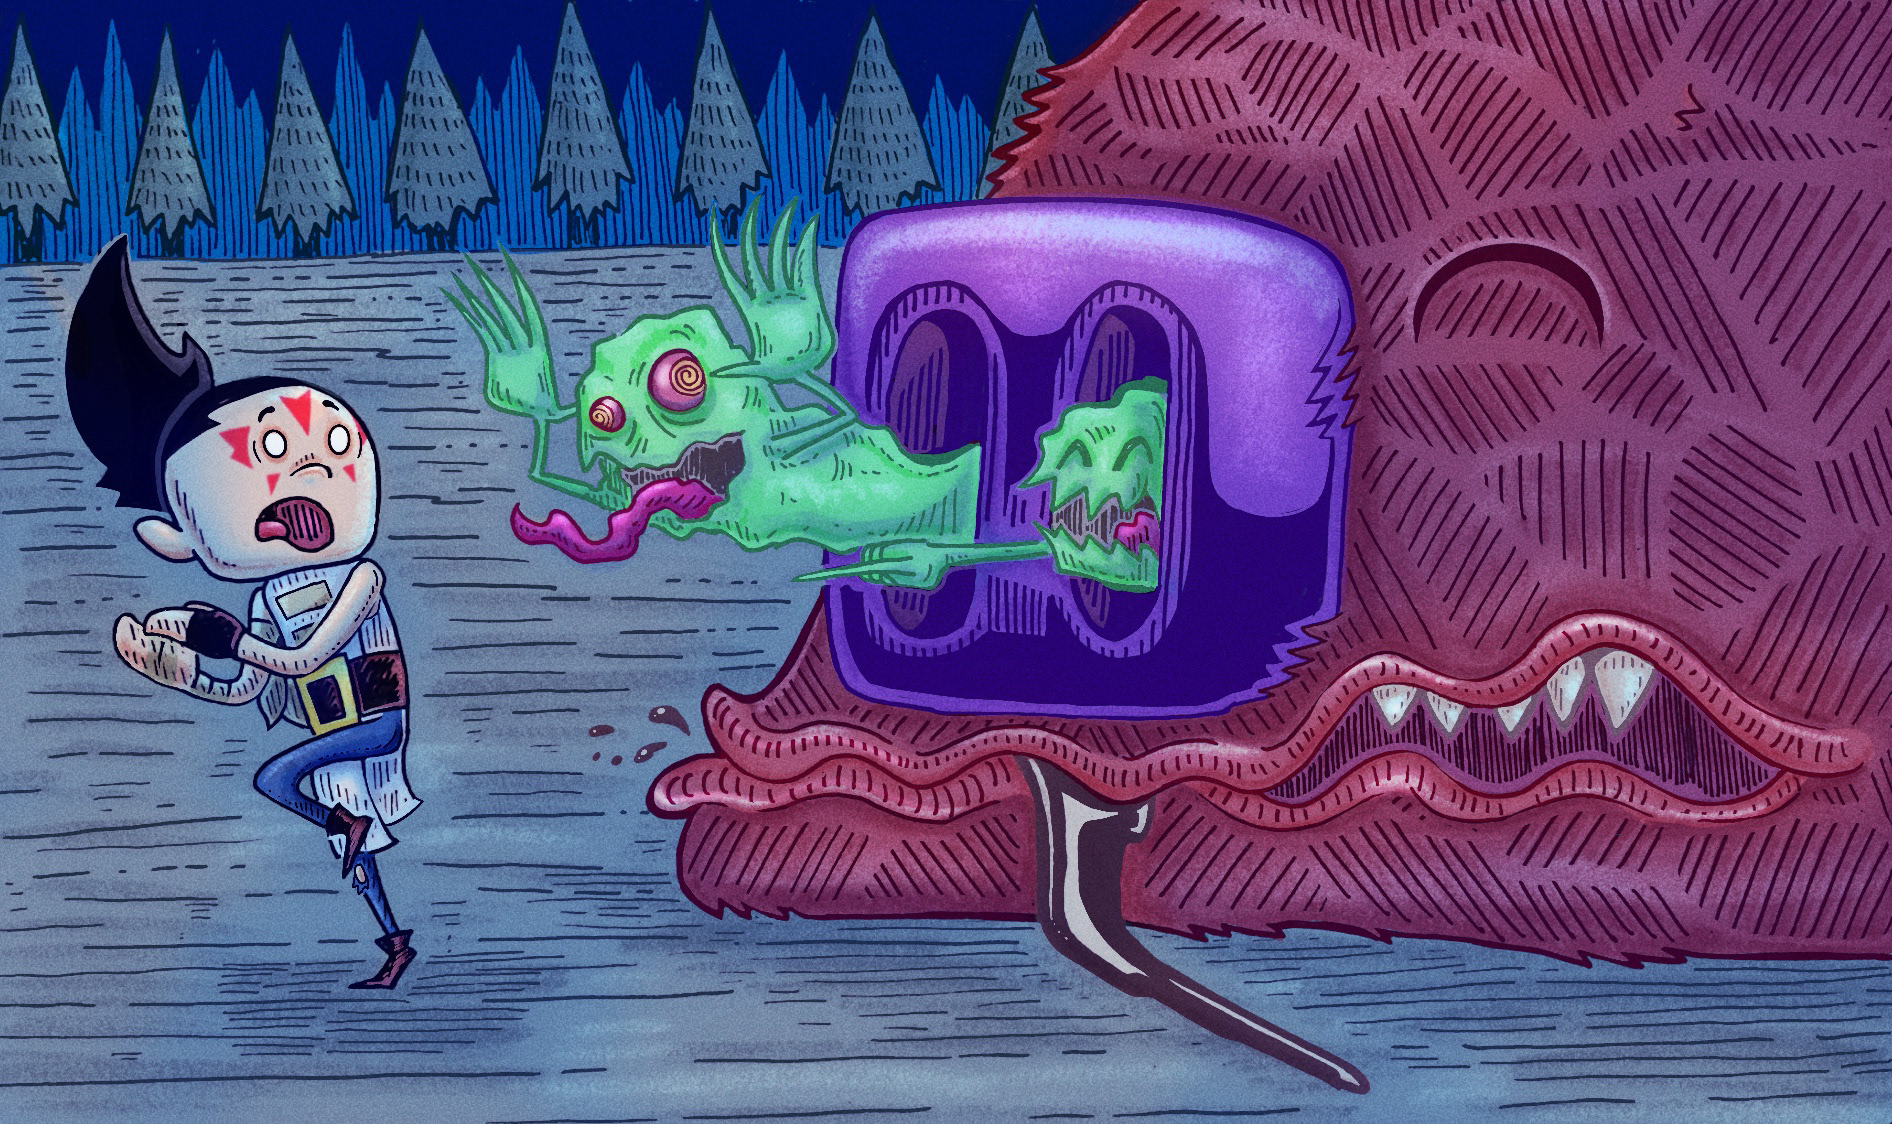
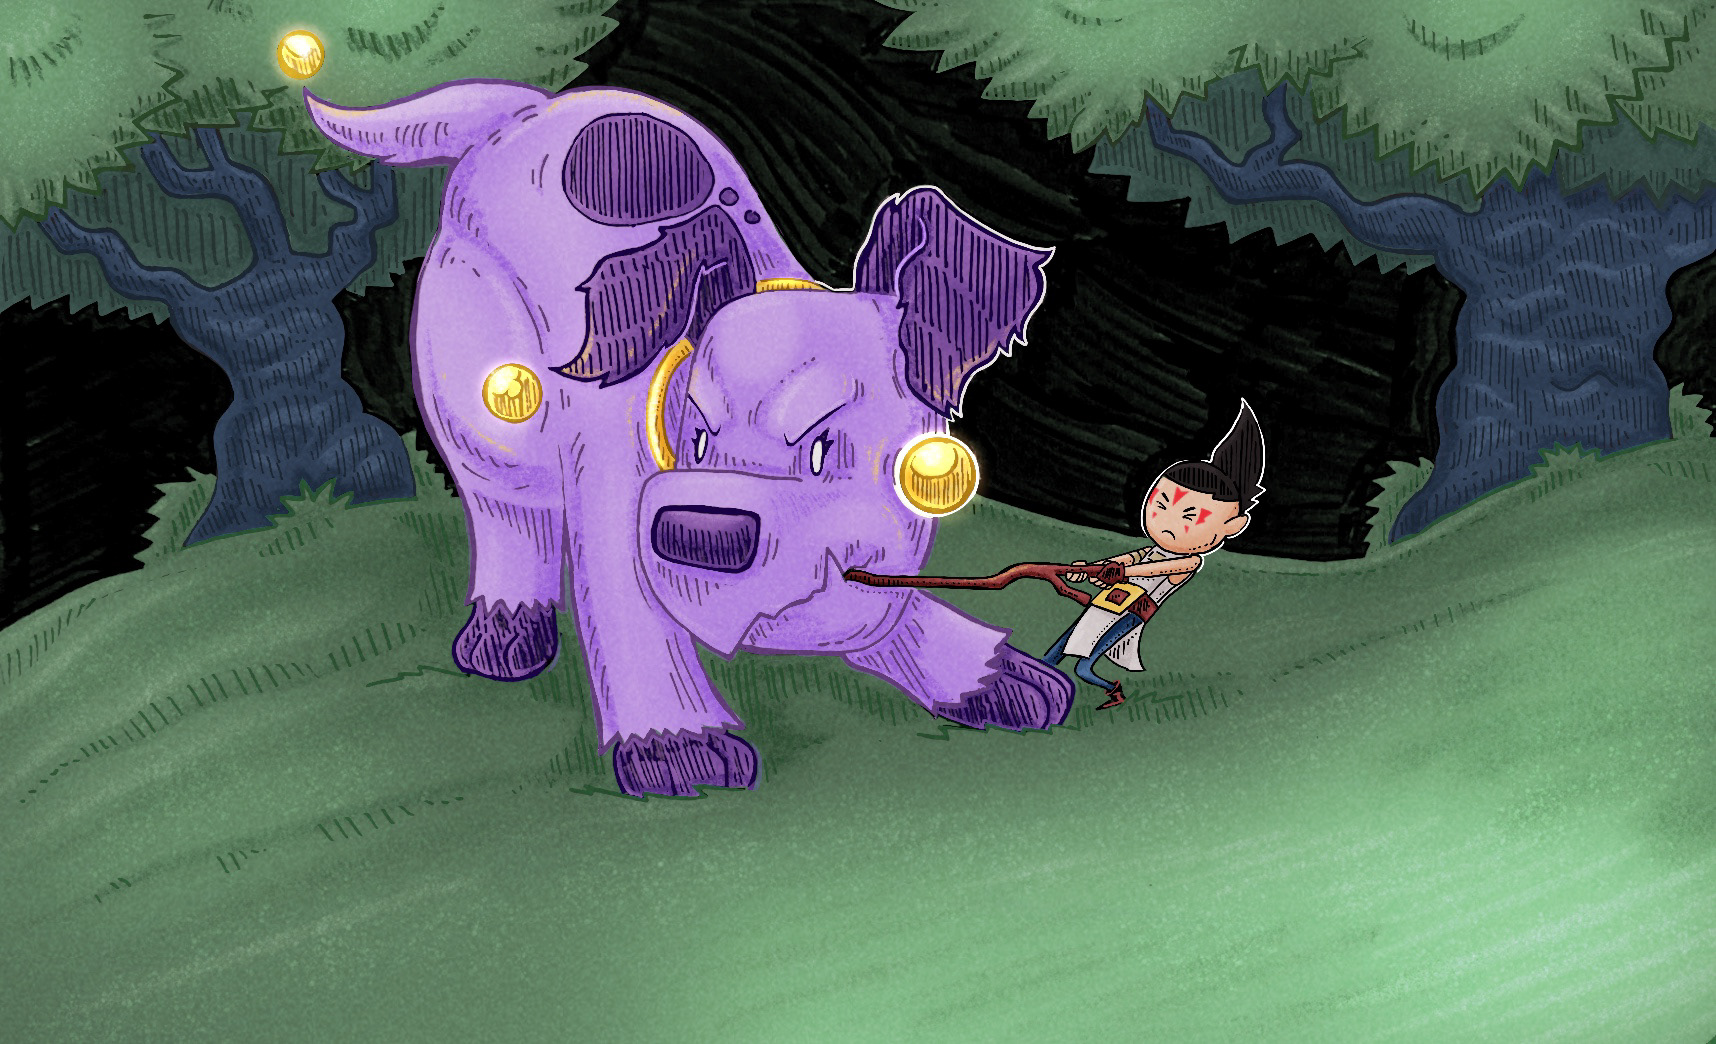
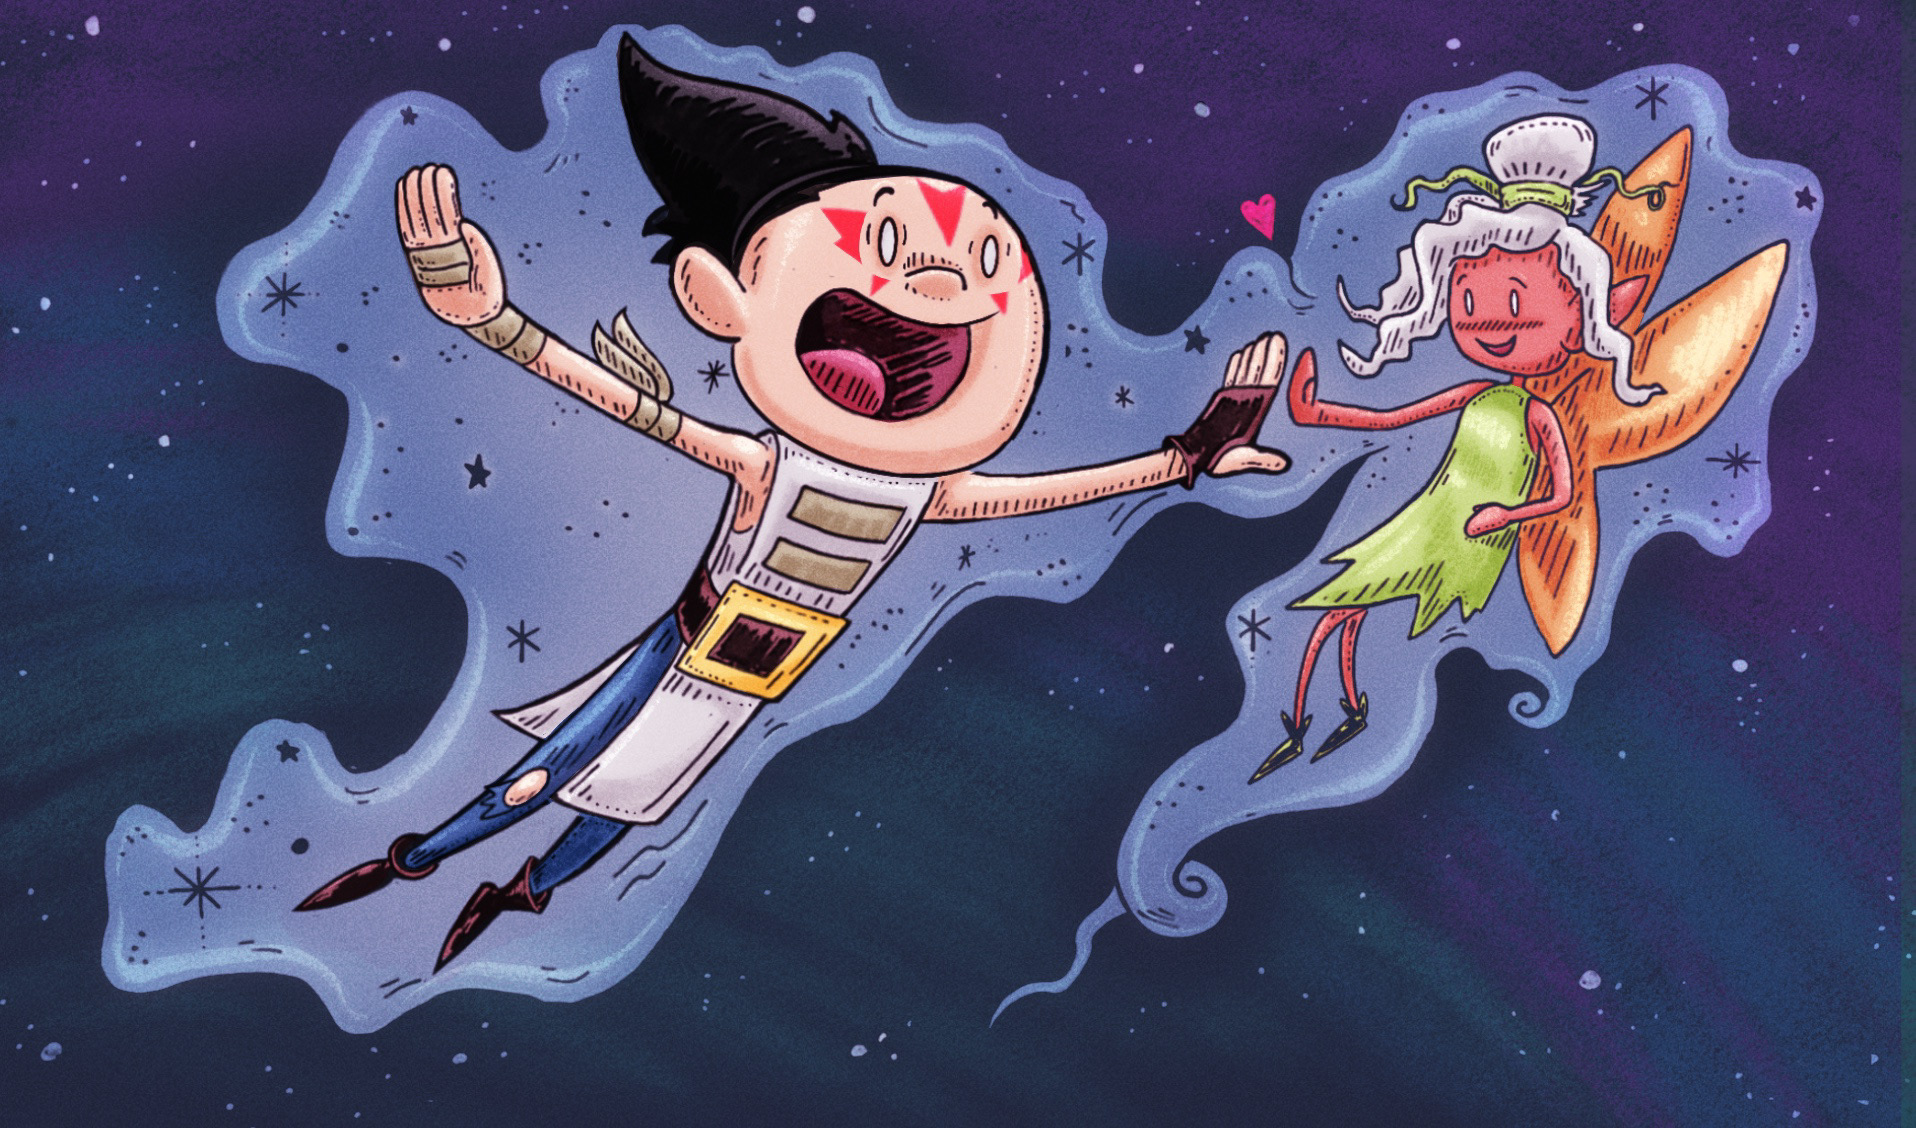
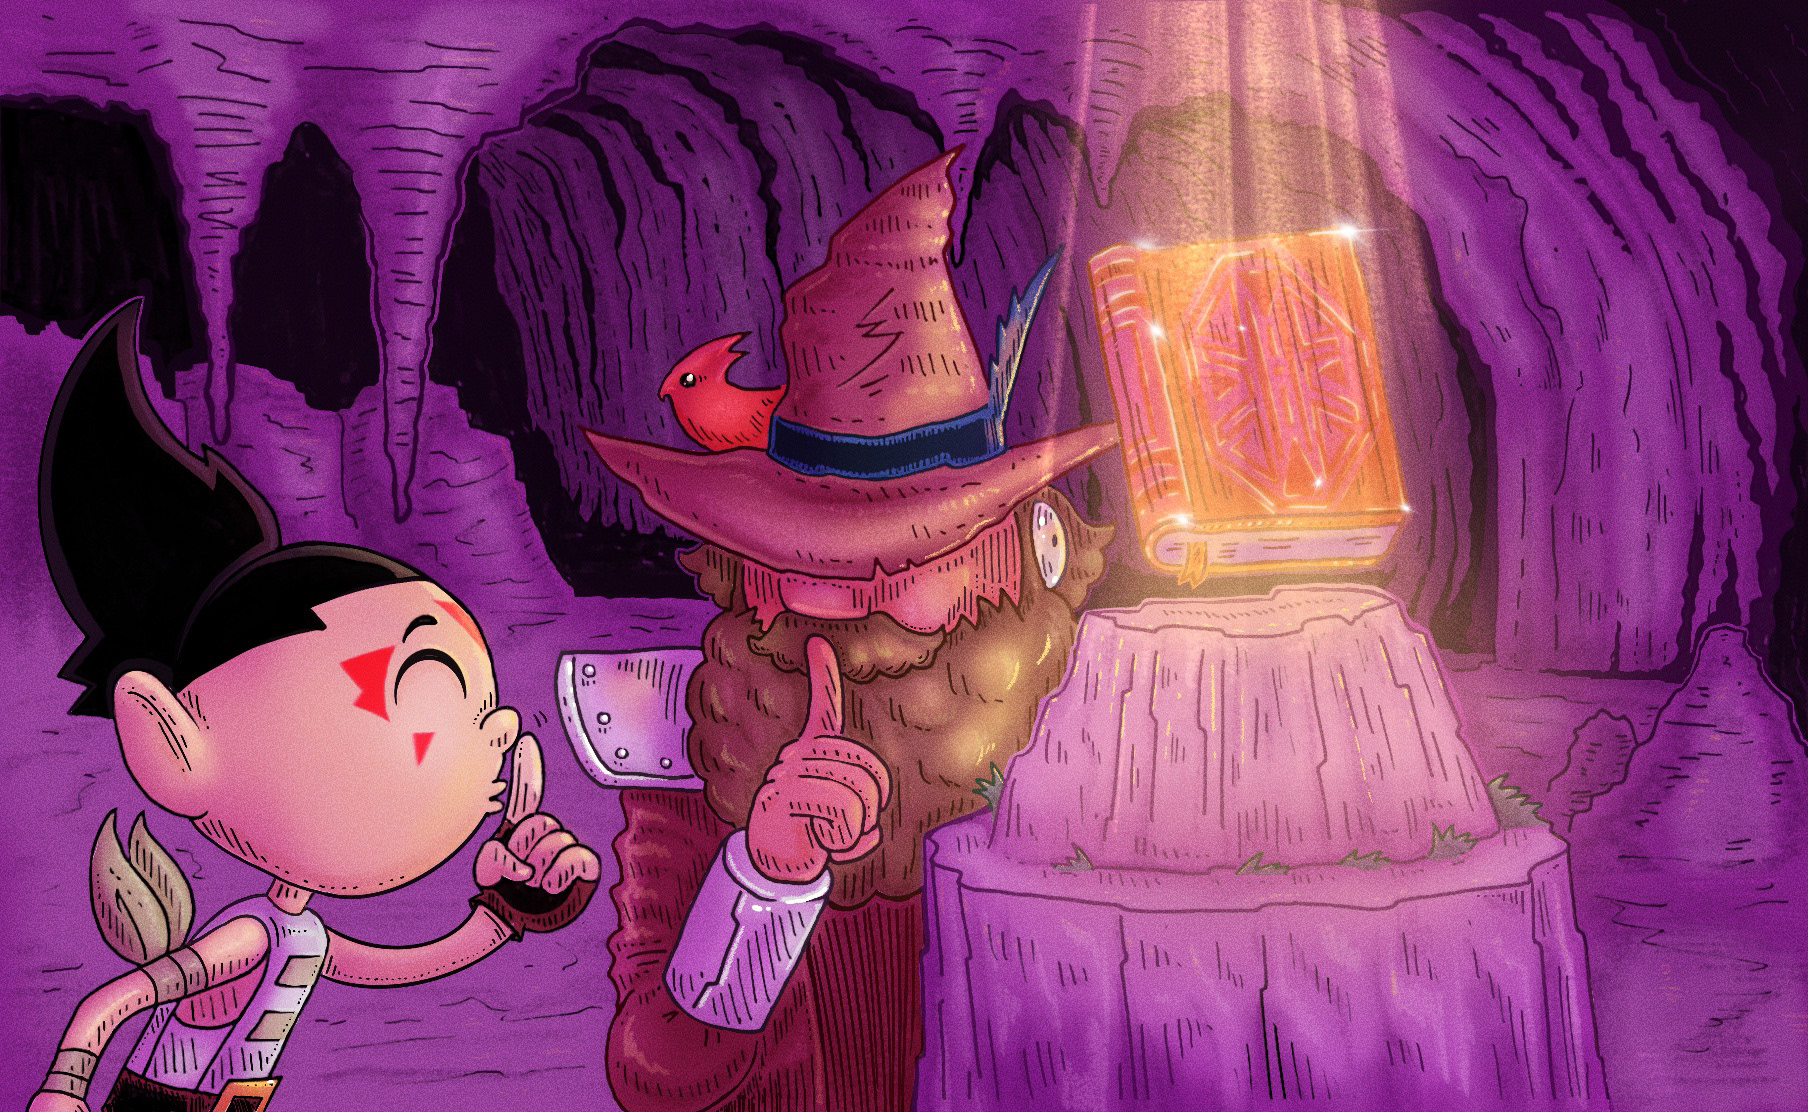
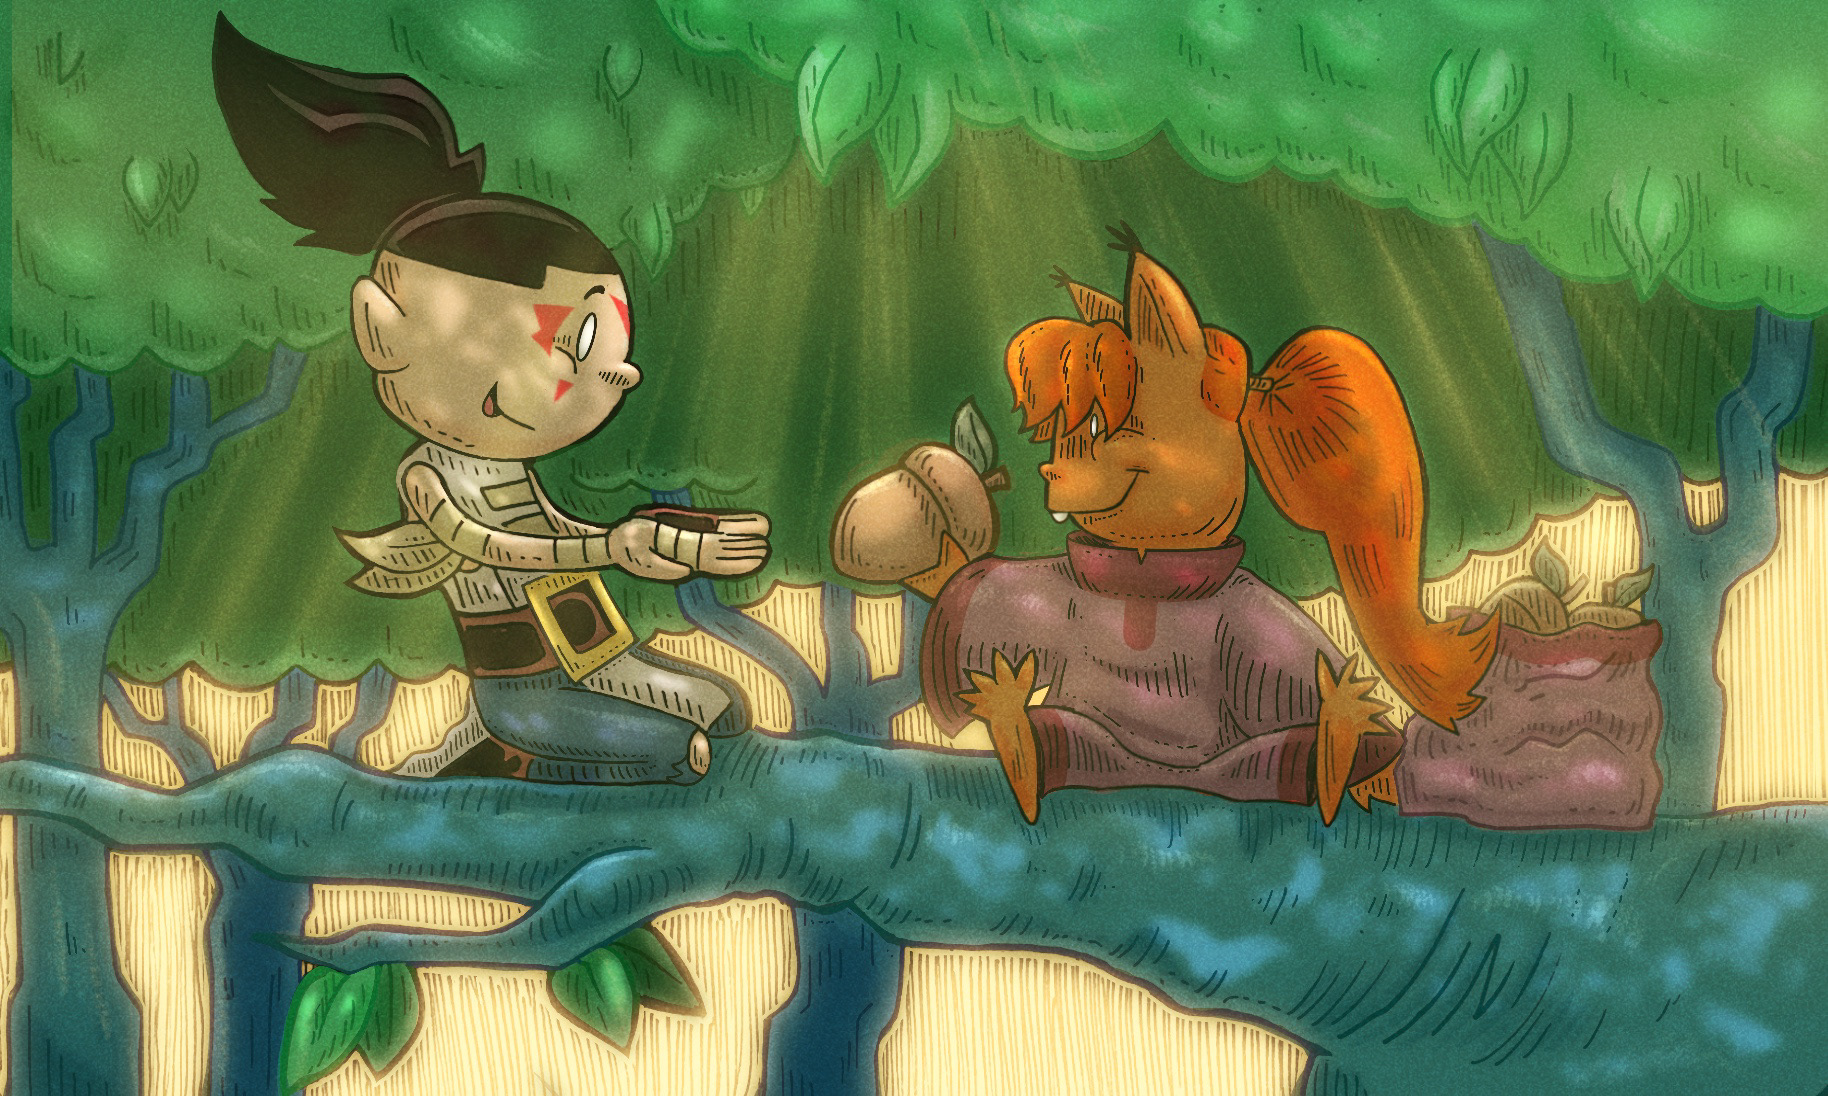
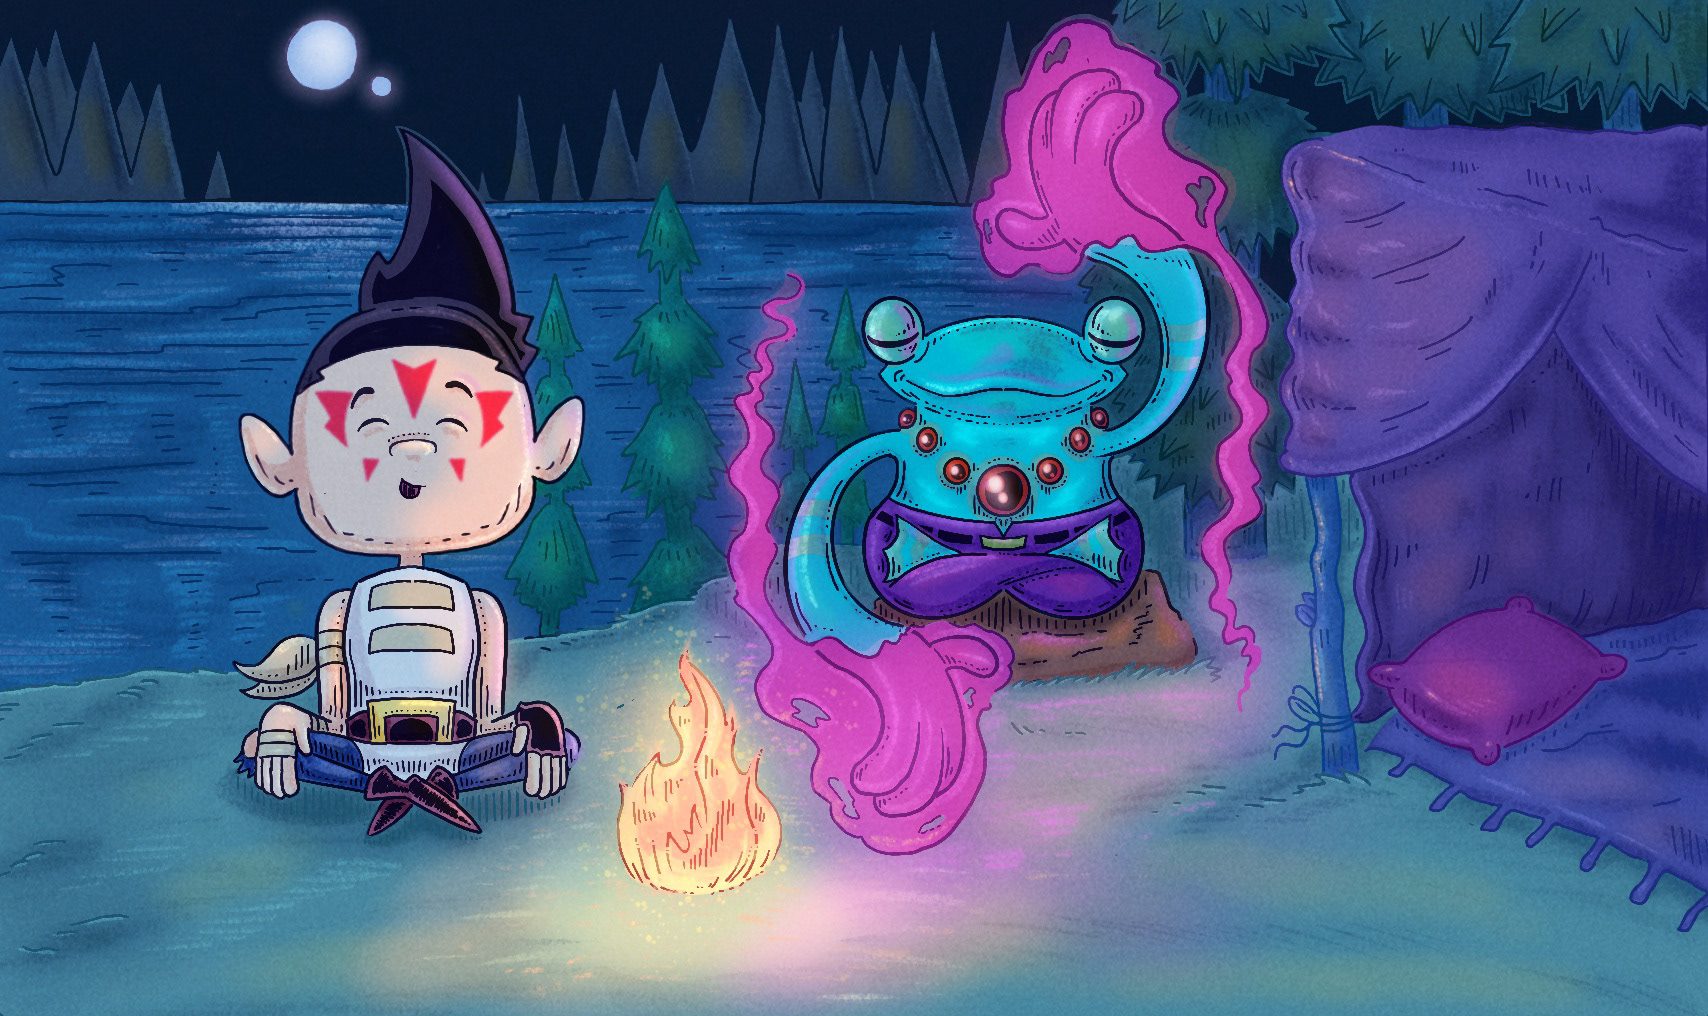
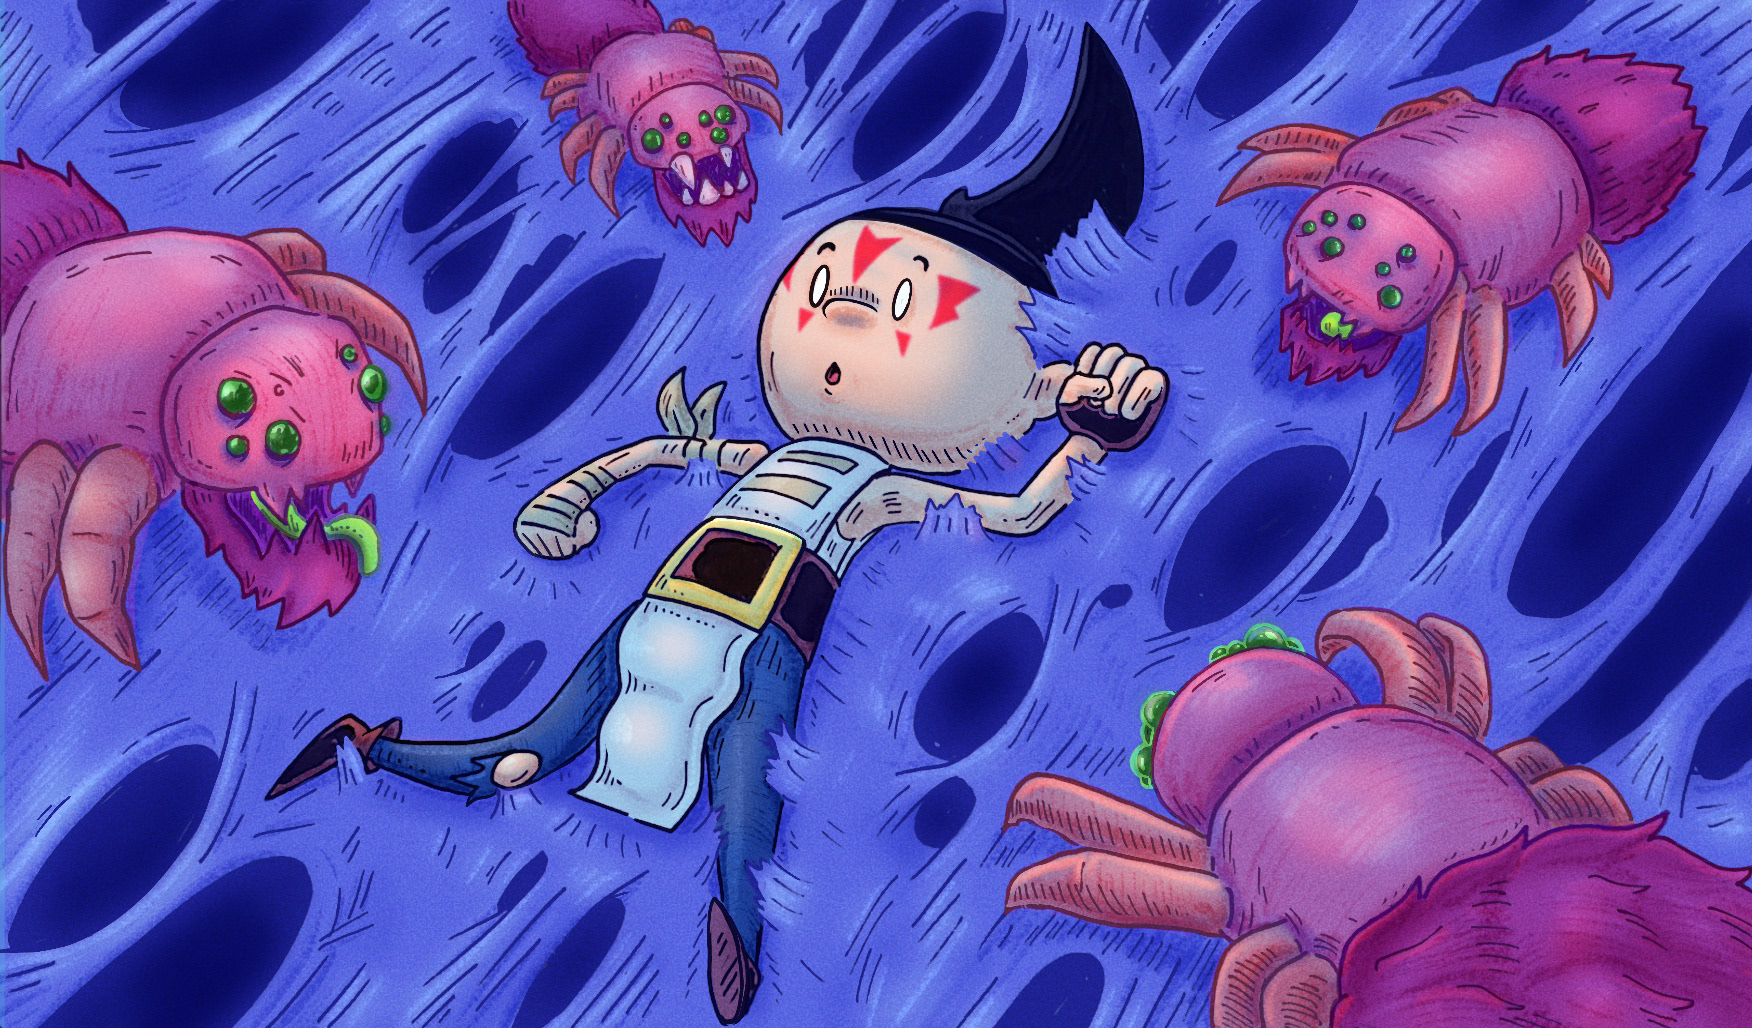
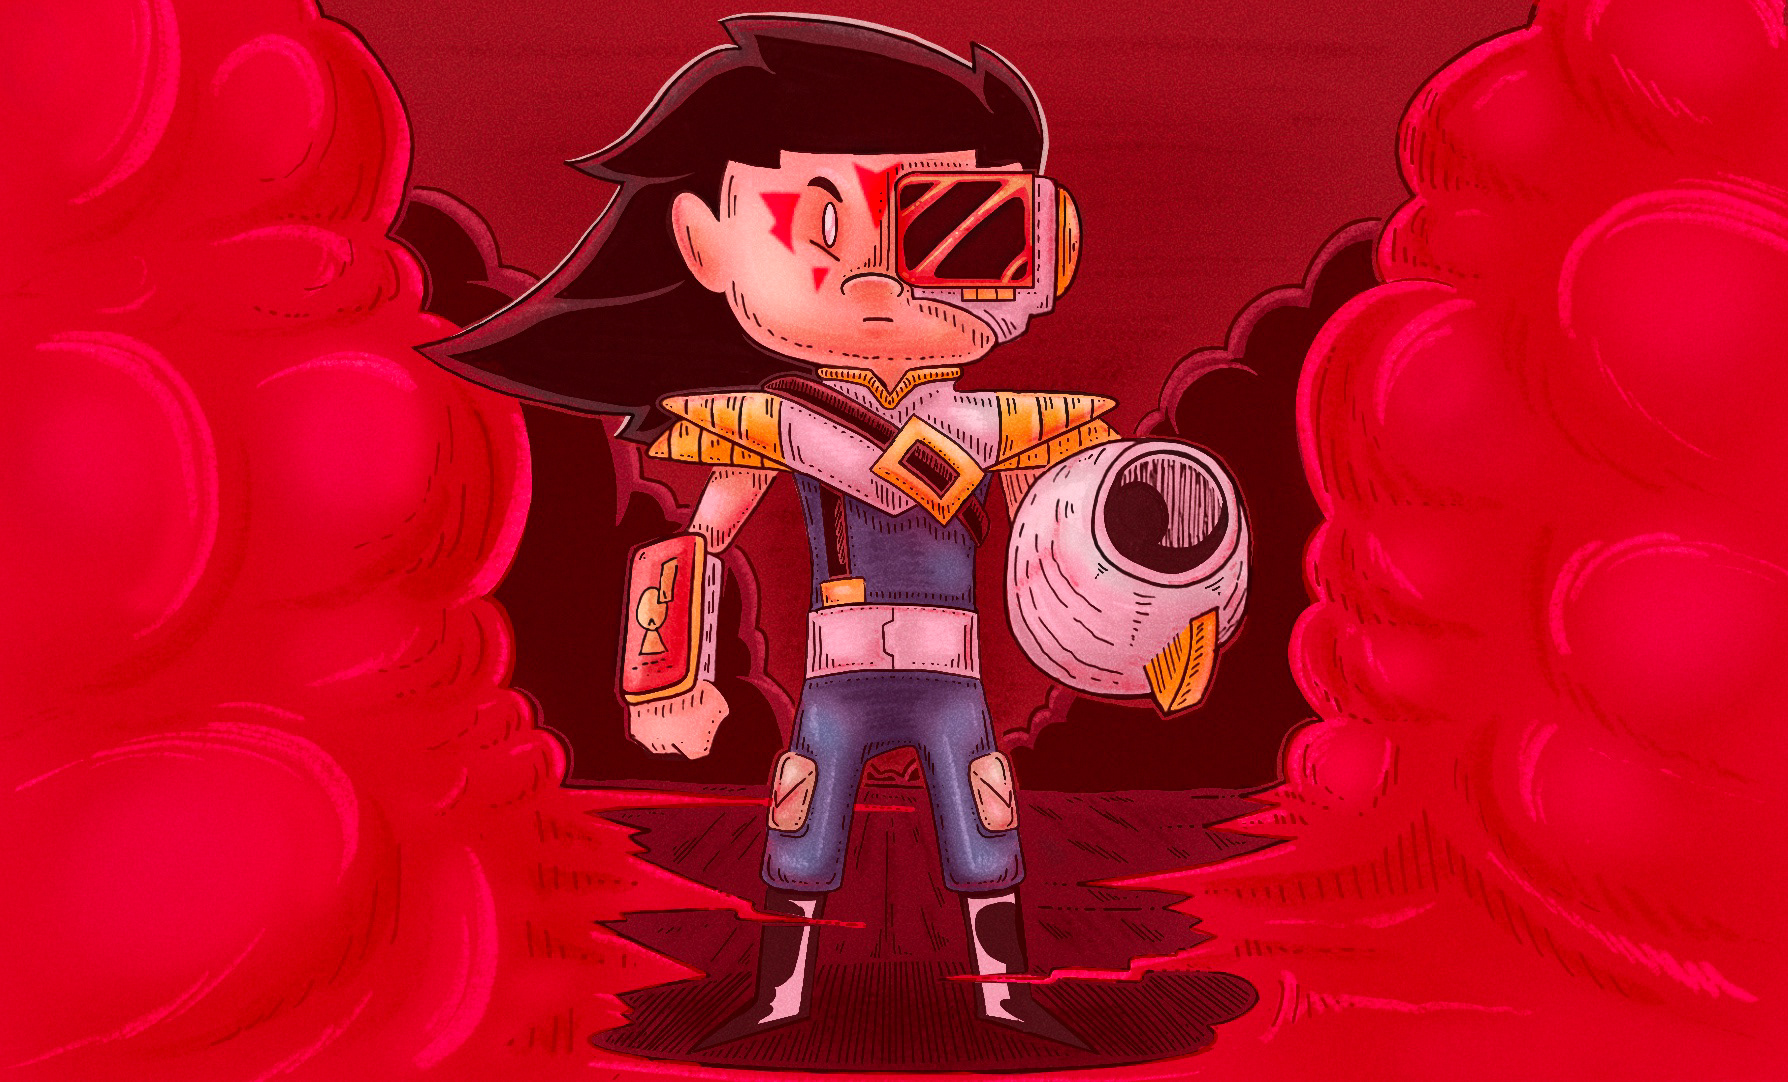
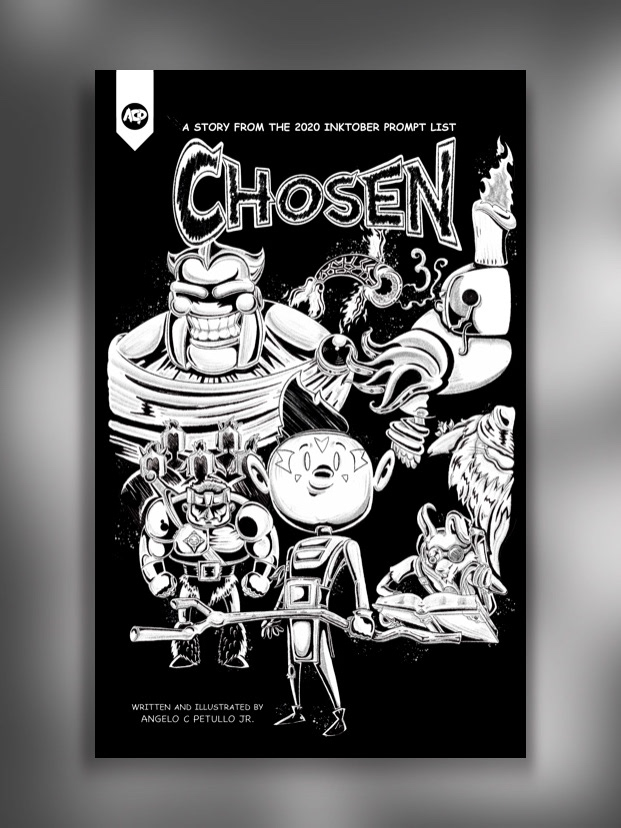
Chosen: Concept Art Book
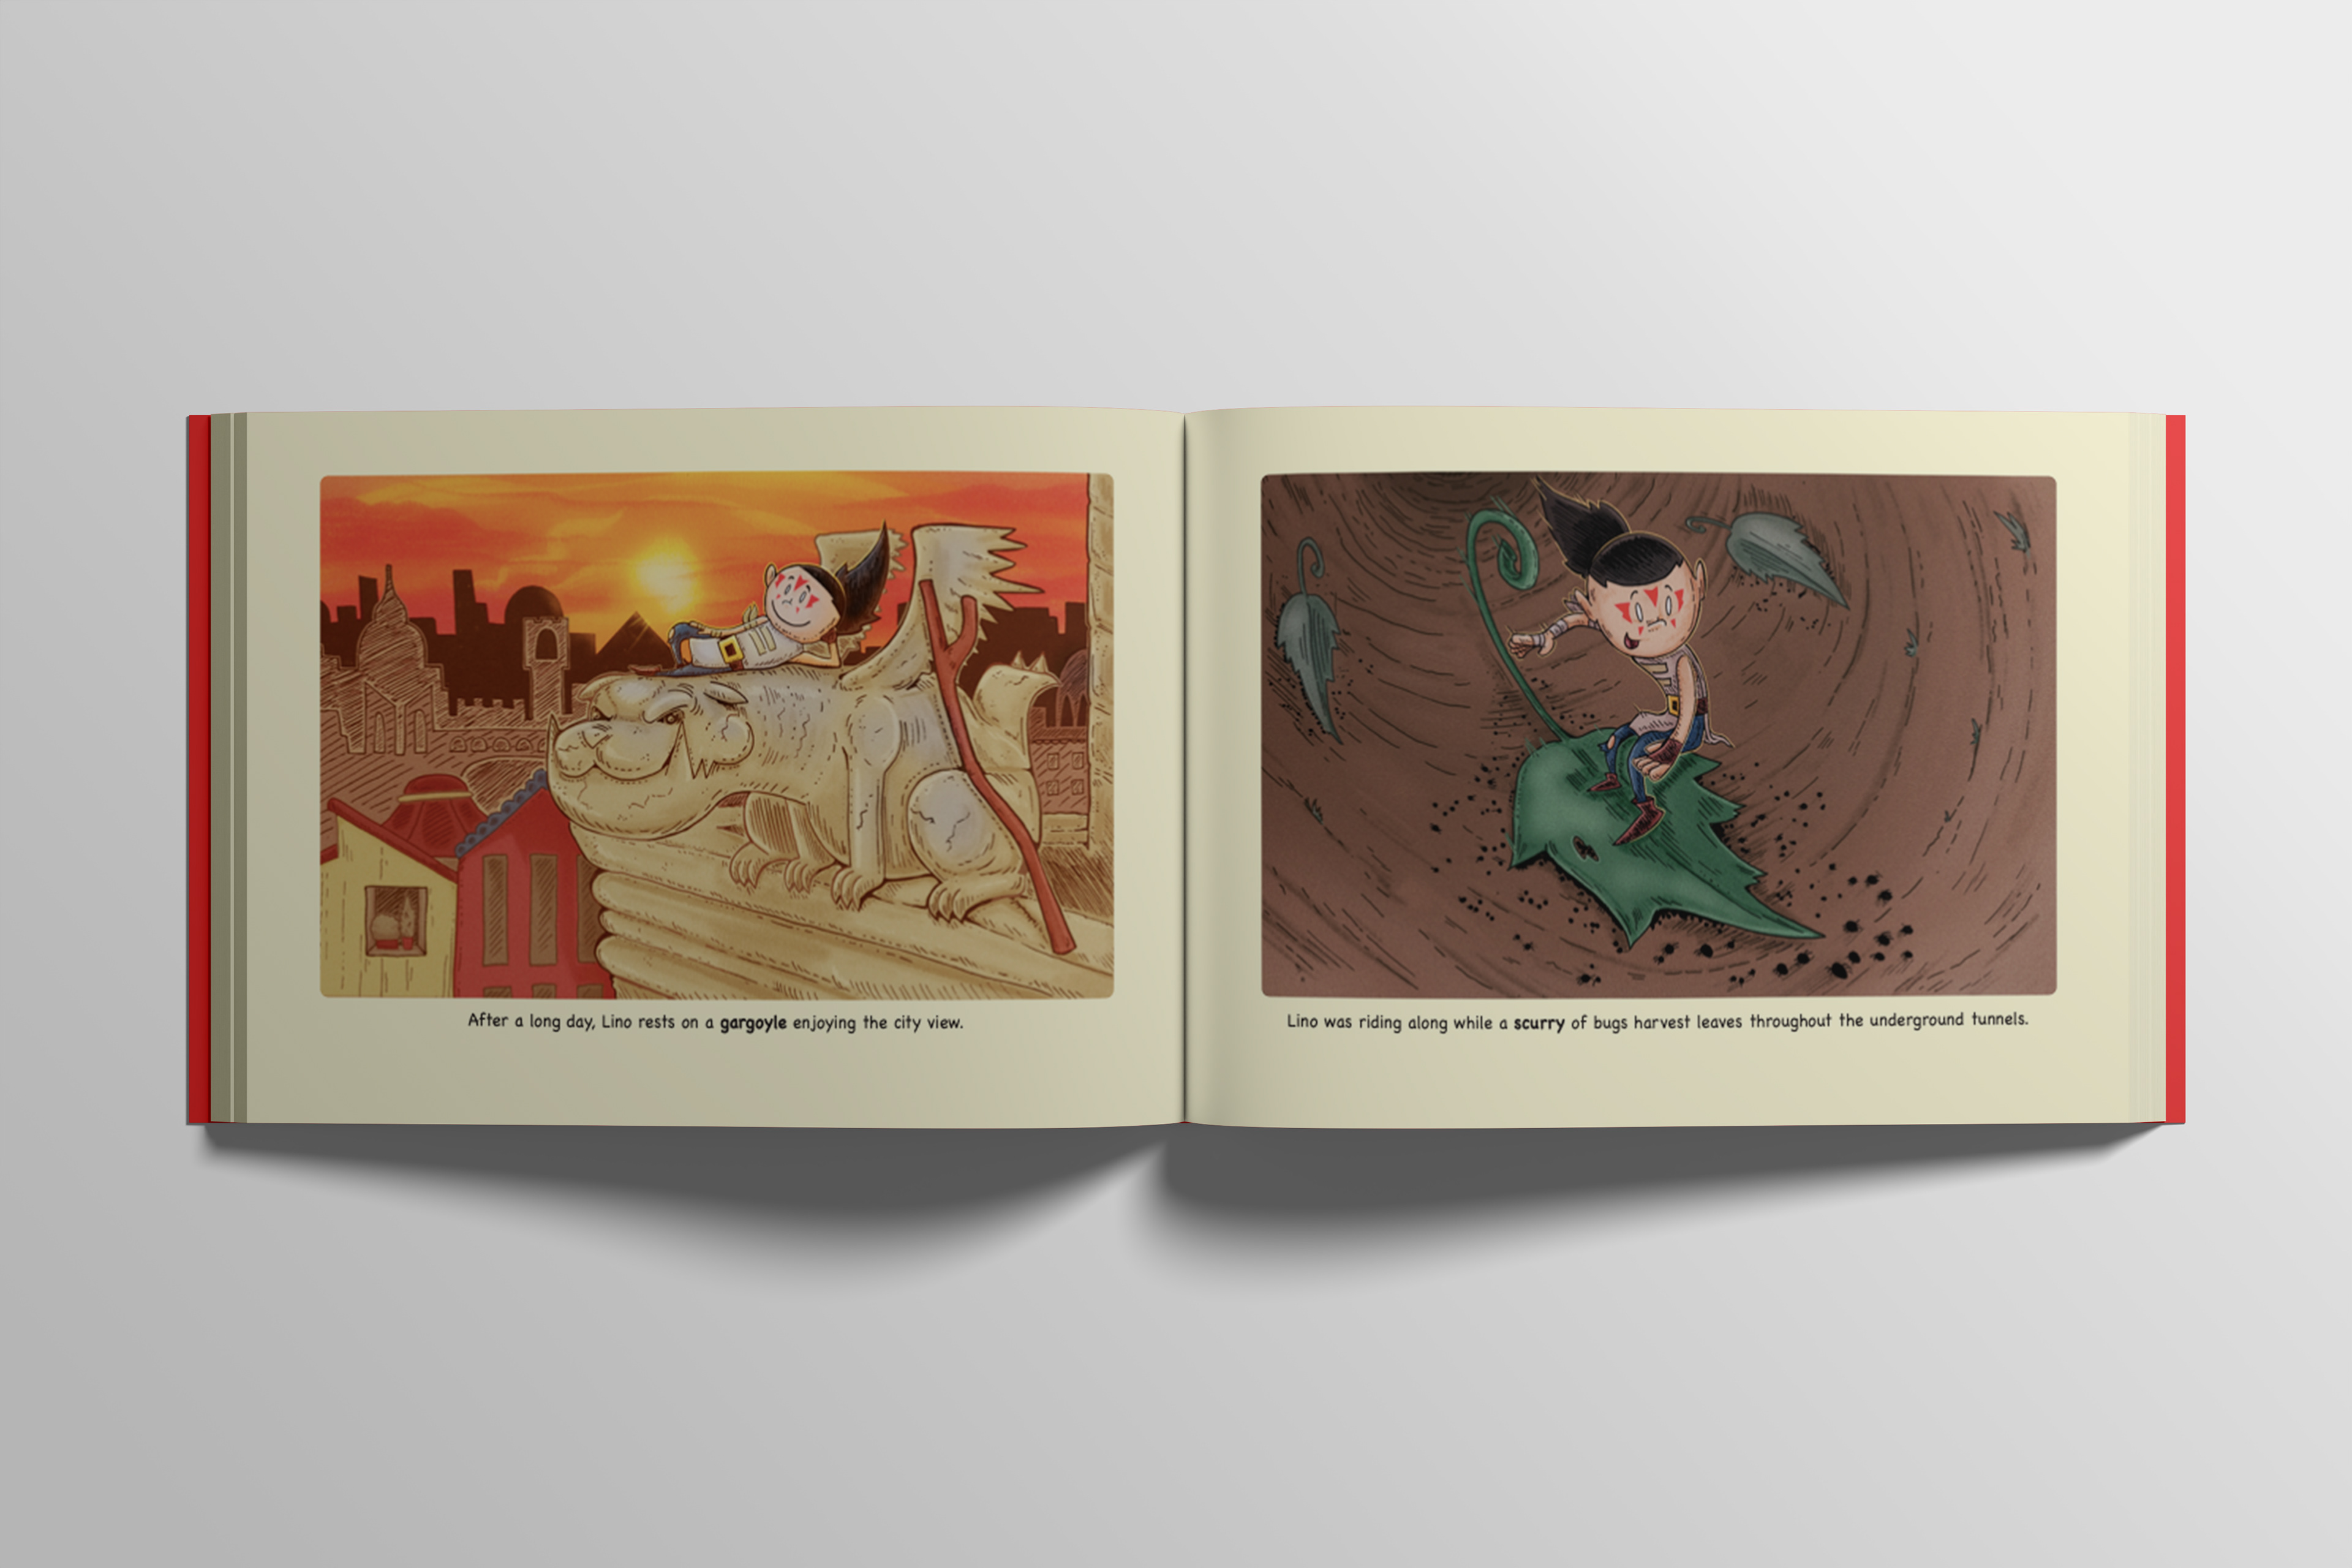
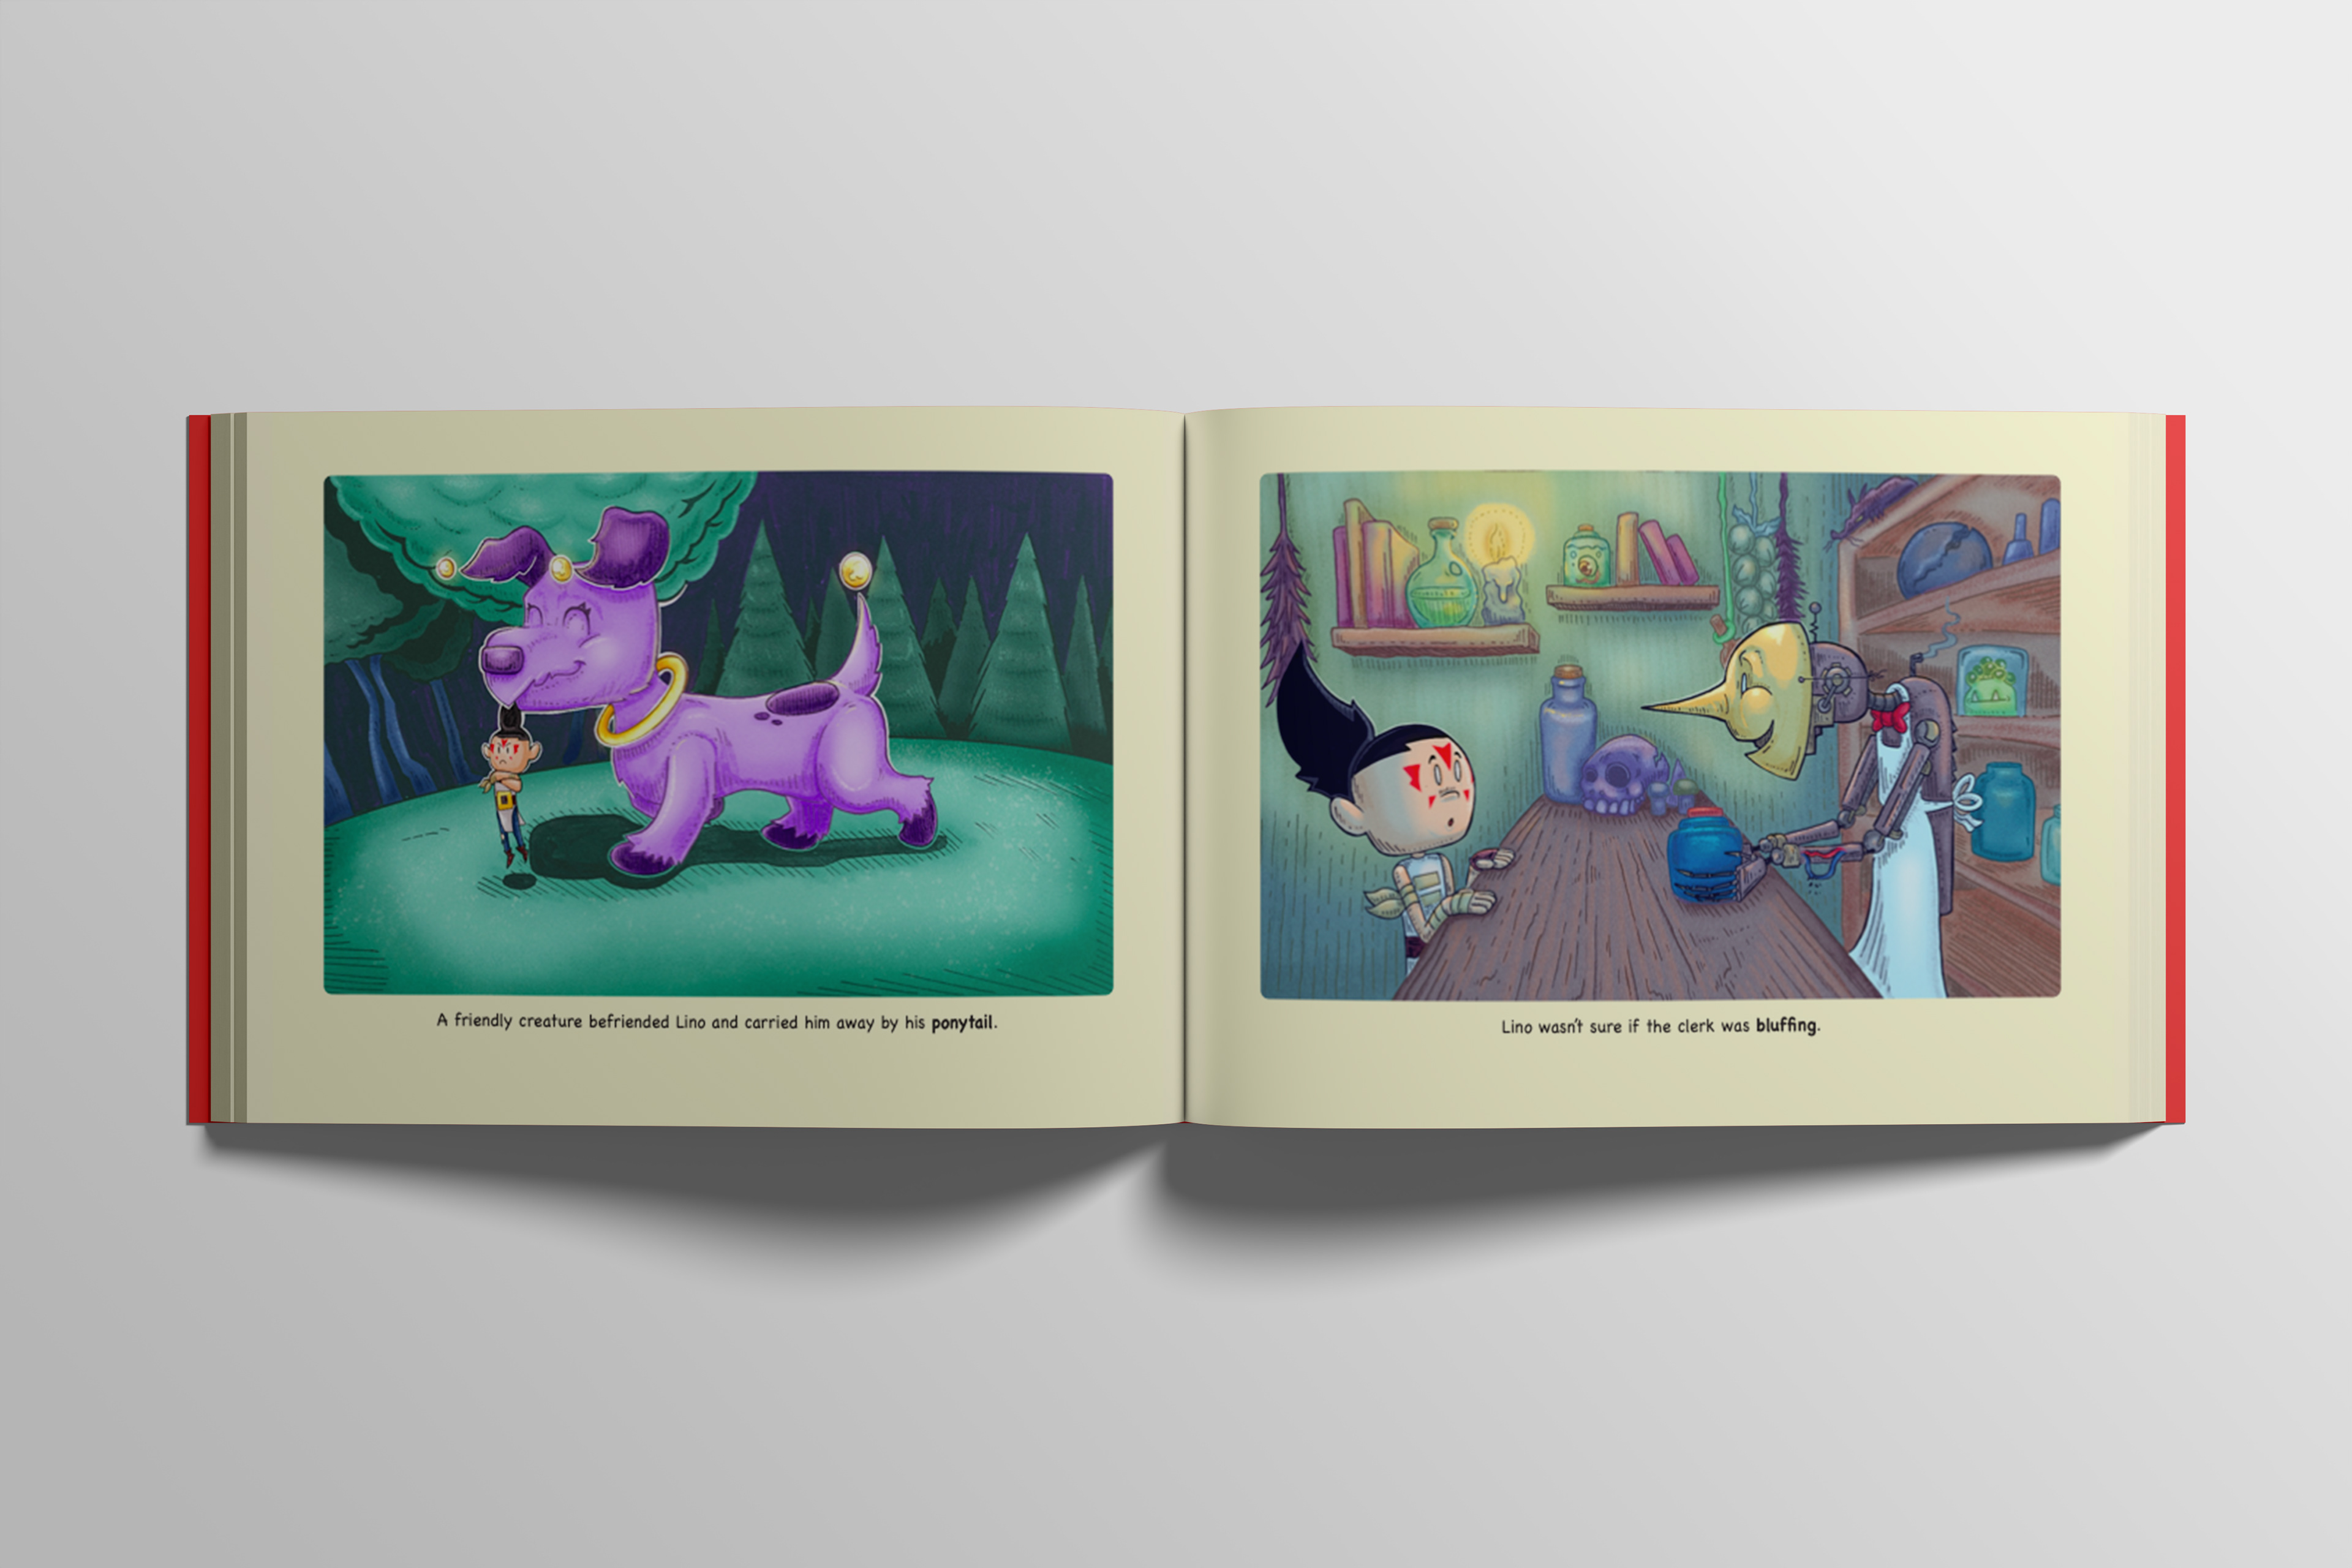
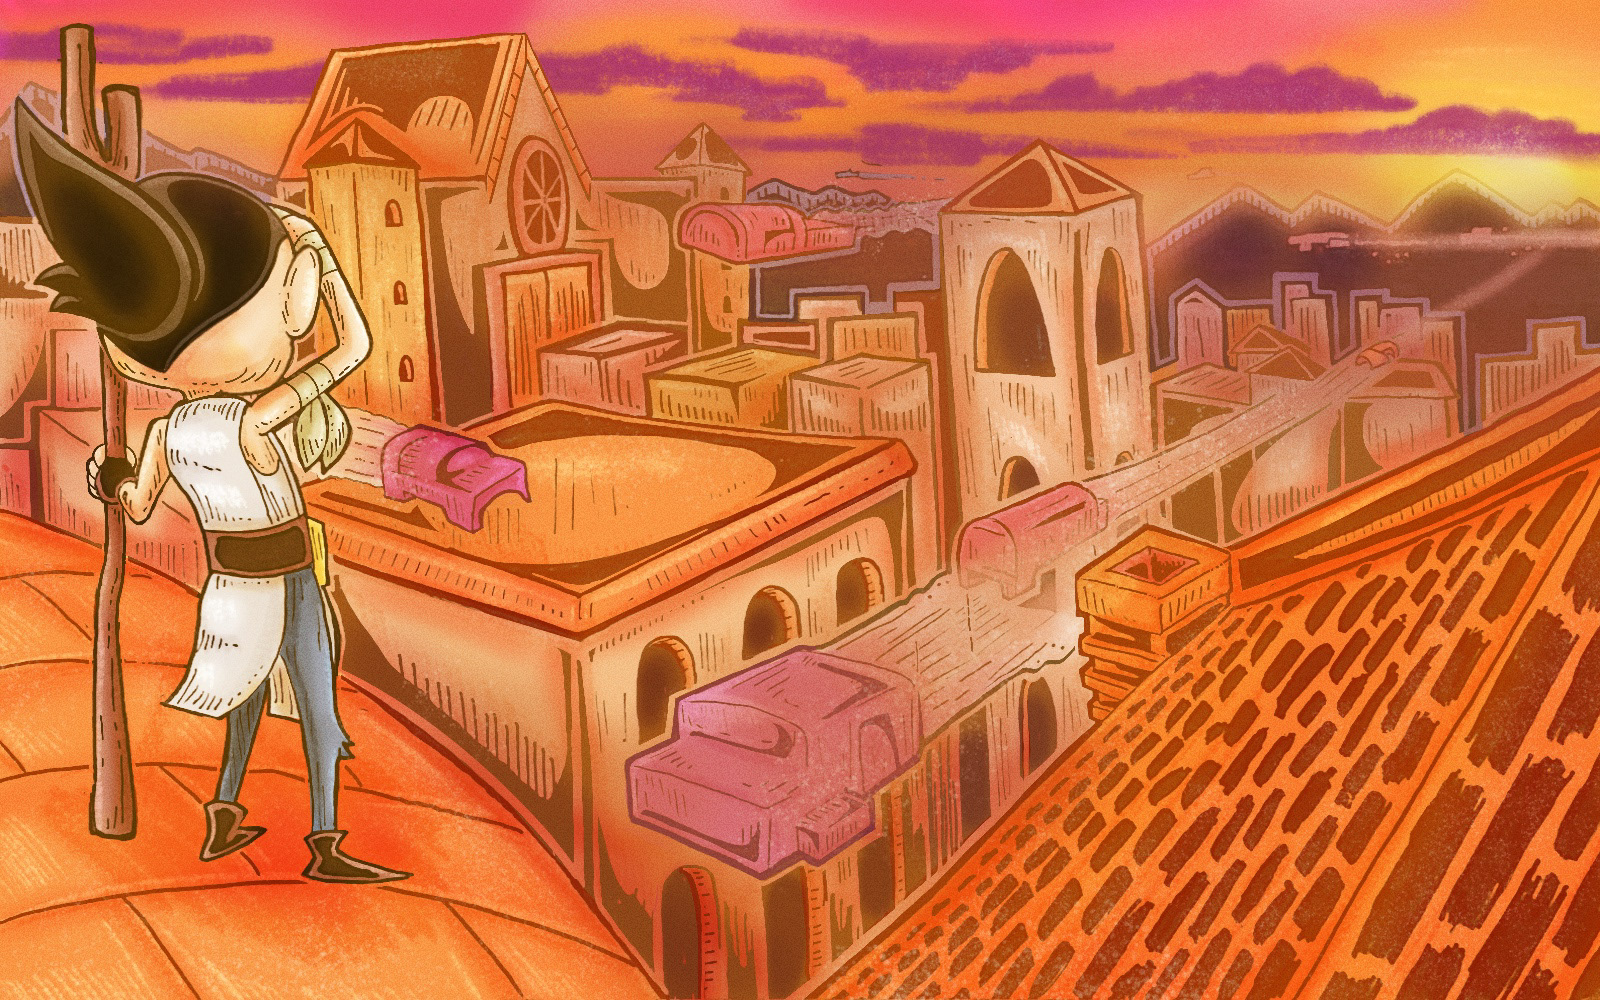
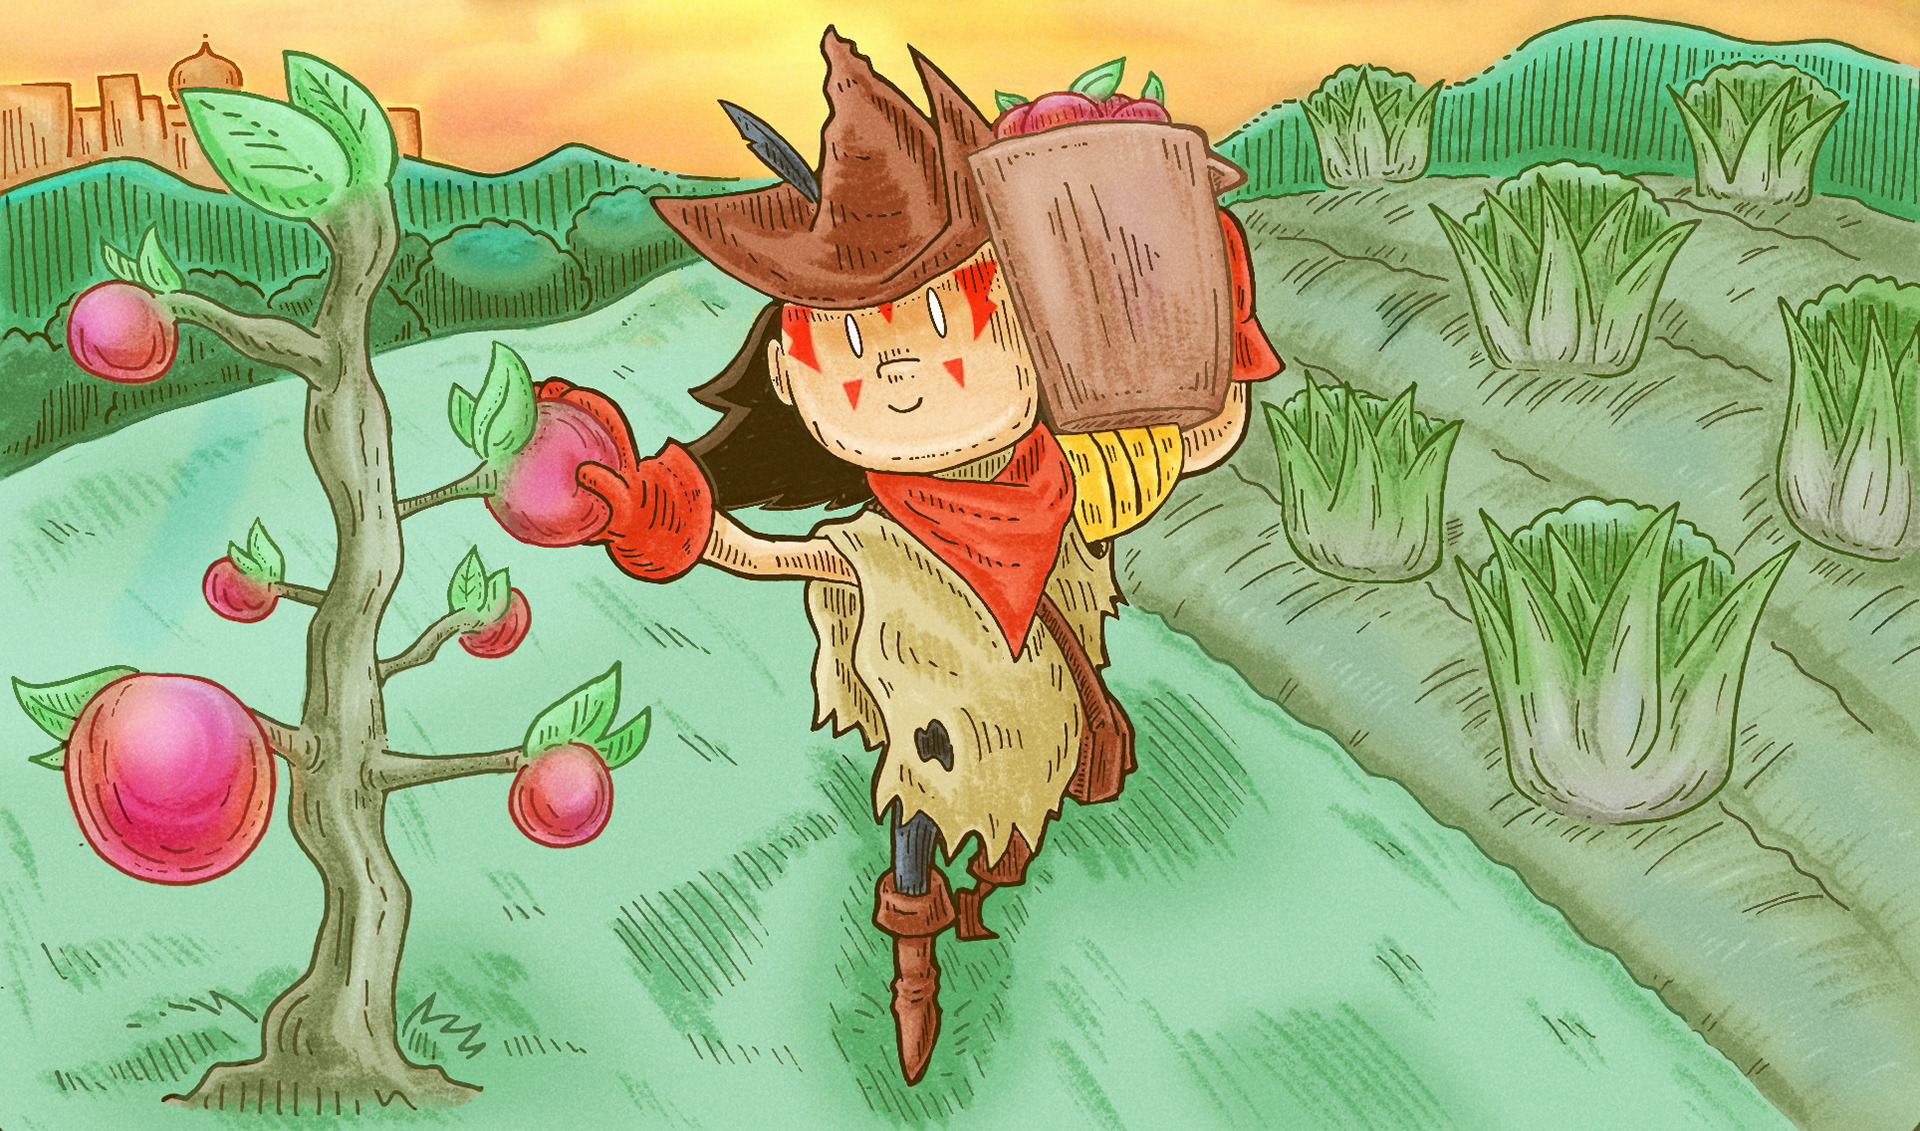
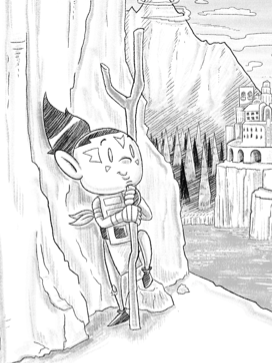
Come on a visual exploration with the main character Lino as he explores The Chosen universe. With the 2022 Inktober prompt, go on a journey with Lino to discover uncharted lands, ancient mysteries, and treasures. View the different range of characters, environments, and prop designs.